Supay Onboarding CRM · User Guide
One system, six roles, permissions that stack.
Sales → Leader → Manager → Master build upward — each higher tier fully includes everything below it, gaining only wider data scope and more management rights. Two separate, cross-cutting roles sit outside the ladder: Onboarder handles the final step, and Viewer is read-only with sensitive data masked.
00 · For every role
After you log in, get to know these
Whatever your role, the top-right tools and left nav work the same — the only difference is which menu items appear.
🔑Login
Log in with the email + password your admin assigned. Accounts are created only by a higher tier: Sales by Leader / Manager / Master; Leader by Manager / Master; the other roles by Master.
🌐Top-right tools
中文 / English toggles the interface language · Change password for your own login · Sign out.
🧭Left navigation
The menu changes with your role — the items you see are the features you're authorized for. If you can't see it, you don't have permission (it isn't hidden).
🏢Service Provider
A company entity that onboards merchants on the platform — not a login account. Created by Master on the Service Providers page; every Sales / Leader / Manager belongs to one provider.
🧰Tools
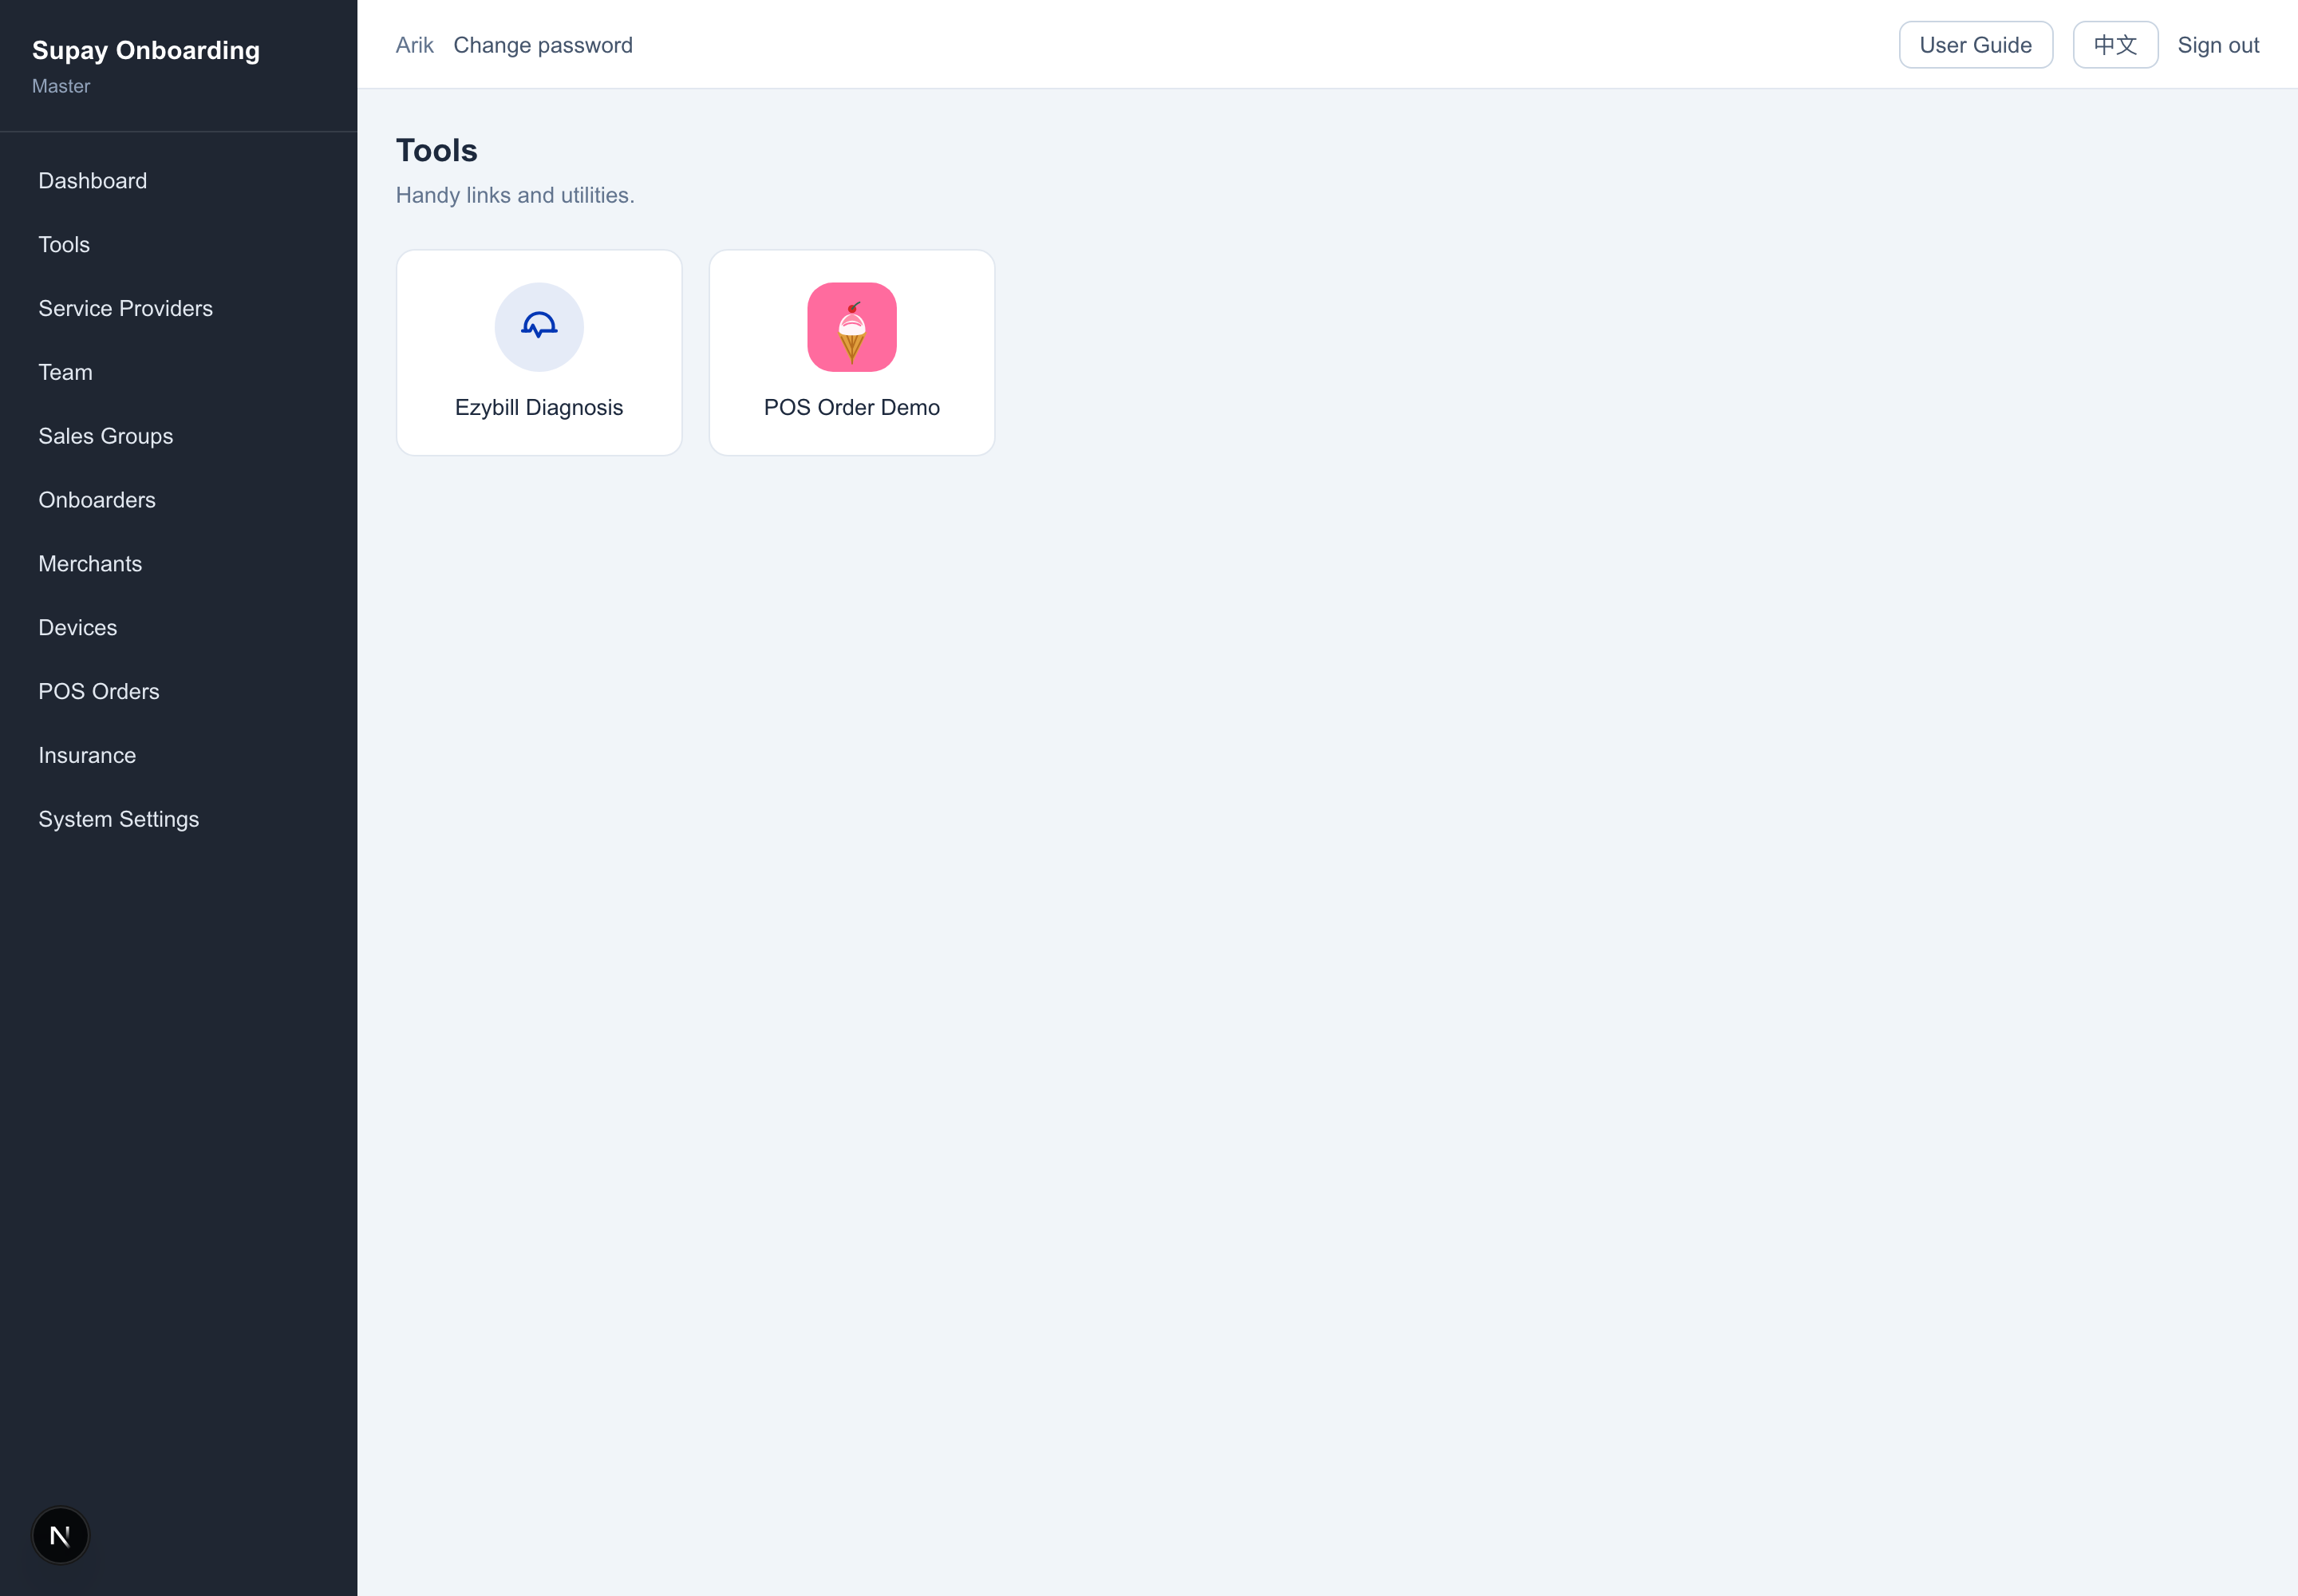
A launcher of external links (Sales / Leader / Manager / Master) — Ezybill Diagnosis, POS Order Demo, etc. Each opens in a new tab.
📟Devices
A terminal-device register available to every role: device number / model / responsible person / destination, with auto-discovery from terminal reports. Scope depends on your role.
📱Mobile / PWA
On a phone, the top-left hamburger opens a slide-out nav drawer; your browser can “Add to Home Screen” to use the site as an app.
Tools
Two handy utilities
Sales / Leader / Manager / Master have a Tools page in the left nav — an icon launcher; click one to open that tool in a new tab. (Onboarder and Viewer don't get this menu.)
🩺Ezybill Diagnosis diagnosis.ezybill.co.nz
What it's for: show a merchant where their current card-processing (acquiring) cost is high and how much Ezybill would save them — a one-page statement diagnostic you run in a sales conversation.
- Get one of the merchant's settlement statements (the monthly statement from their bank / acquirer).
- On the Tools page click Ezybill Diagnosis; in the new tab click Upload merchant statement and pick the file: TXT / CSV / text PDF are read directly; images, screenshots, scanned PDFs run browser-side OCR (on a phone you can take a photo of the statement). The file is parsed in your browser and never uploaded to a server.
- Click Generate report to open the report page.
The report shows: effective card cost · monthly cost · annualised cost · estimated saving · findings + Ezybill recommendations, with a “Contact Ezybill” panel at the bottom. Comparison basis: Ezybill packaged rate 1.2% (promo ×0.8 = 0.96%) + P3 rental NZD 9.95 + GST per terminal (matched to the merchant's device count).
If recognition is incomplete it says “incomplete” and lists only what it could compute rather than presenting an unreliable diagnosis; all pricing is indicative only — formal pricing is subject to Ezybill's written confirmation.
🍦POS Order Demo POSRouter A-side web demo
What it's for: a browser demo of POSRouter's ordering side (A-side) — it sends pay / void / refund to a terminal and shows the live result. The real card payment is done by the production terminal; this demo never touches card hardware — it's for demos / integration testing.
- Open it from the Tools page (you're signed in automatically, and actions are recorded under your name).
- Click Connect… to open the “Connect lane” dialog; enter the Terminal ID + Merchant ID (optional Sub-merchant) — they must exactly match the target terminal (kiosk B-side) — and click Connect. The status top-left changes from idle to connected.
- Build an order from the Menu; the Total shows on the right; pick a payment method (ask on terminal / Card EMV / QR code / Skyzer).
- Click Pay and watch the terminal's reply in the Status log; use Void or Refund on a completed transaction as needed, and Clear to reset the order.
⚠️ The link carries your passwordless identity — don't forward it; that's lending out your name to place orders.
Remote path only — it does not cover the same-LAN track (that's the terminal's own on-device acquiring, which has no browser equivalent).
01 · Permission model
Four nested tiers, two independent lines
Think of permissions as concentric circles: the outer ring inherently holds everything the inner rings do — it just sees more data and manages more. Onboarder and Viewer sit outside these four tiers as independent roles.
No create / delete / admin pages
No create / edit / delete / upload
// outer = all inner abilities + wider data scope + more management rights
02 · Role by role
What each role can and can't do
Read from the base Sales upward — each higher tier notes what it adds; everything from the tier below is already included.
Data scope: own merchants only (created by / assigned to you).
- Dashboard's three cards: Merchants / Signed / Onboarded (all your own), plus a bank accounts to review list
- Create a merchant ("Look up NZBN by name" auto-fills the company number); or batch intake (paste text, AI splits it into several merchants)
- In the detail page: KYB, fill the bank account (check it against the statement), record MIDs, upload documents, add contacts
- Edit the contract, generate the merchant / guarantor signing links for online signature; the owner clicks Lock to finalize once both parties sign
- Change merchant status (other than the automatic Lead / KYB done)
- Delete merchants · see other people's merchants
- ⚠️ If a company is already registered as a service provider, the system refuses to add it again as a merchant
Runs one sales group — one level narrower than a Manager's whole provider. Scope: all merchants of every sales in the group.
- Dashboard / merchant list show all merchants of the group, filterable by sales
- Team: view the group's members
- Create Sales accounts (auto-assigned to the group, set an initial password)
- Reset passwords of Sales in the group
- Change merchant status · delete merchants · manage across groups
- Create Leader / Manager / Master / Onboarder / Viewer · manage service providers
Scope widens: from "the group" to all merchants of every sales under your provider.
- Dashboard / merchant list show all merchants of your provider, filterable by sales / group
- Team: view all members of your provider (merchant / signed counts per row)
- Create Leader accounts and assign them to a sales group under your provider
- Create Sales accounts; reset passwords of Leader / Sales under your provider
- Change merchant status · delete merchants
- Manage service providers · create Manager / Master / Onboarder / Viewer
Data scope: global — all providers, all merchants, all people. These features are Supay-internal — provider-side accounts don't see them.
- Service Providers: create / manage provider entities; issue / revoke API keys (external systems create merchants directly; docs at
/api-docs) - Team: create any role (incl. Leader / Viewer), reset anyone's password
- Groups: a dedicated page to create / list sales groups (pick a provider + name it); each group row has a group-level agreement entry
- Click a person's "Signed" count → commission settlement (filter unsettled / settled, settle / revoke per row, settle all)
- Status dropdown on the merchant detail page moves it to any status
- Onboarders: each operator's onboarding history and count
- POS Orders: platform-wide payment / refund traffic, matched to merchants by MID (takings visible to Master only)
- Insurance: view signed life-insurance engagements (see the "Insurance" section below)
- System Settings: default per-transaction rates, contract versions, payment platforms
- Delete button appears only for unsigned & unsettled merchants (Lead / KYB done / Contract sent)
- Requires typing the merchant name to confirm → permanently deletes the merchant and all its contracts, documents and uploaded files
- Signed (Signed / Onboarding done) or settled merchants cannot be deleted
- Deletion log: who deleted which merchant and when (with status, provider, NZBN at time of deletion)
Role: a cross-cutting execution role that sees all merchants globally (regardless of provider), dedicated to the final step.
- View any merchant's detail
- Supplement / update KYB, maintain bank account / MIDs, upload documents, edit contacts
- Click Onboarding complete on the detail page → marks the merchant Onboarding done; the system records who & when
- Create / delete merchants · batch intake
- Access Team / Service Providers / Onboarders / POS / Settings / Deletion log / Tools
- Change any status other than "Onboarding complete"
Role: read-only browsing — can see, but not in detail; for cases that need an overview without touching sensitive data.
- Browse the merchant list and open a merchant's detail page
- Detail page is fully masked except the merchant name (
***): bank, contacts, contract, documents, KYB are all hidden - Cannot create / edit / delete, cannot upload, cannot create accounts, cannot batch-intake
03 · Illustrated walkthrough
Do it once, following the screenshots
Each operation below shows where it lives in the UI, tagged with who can do it.
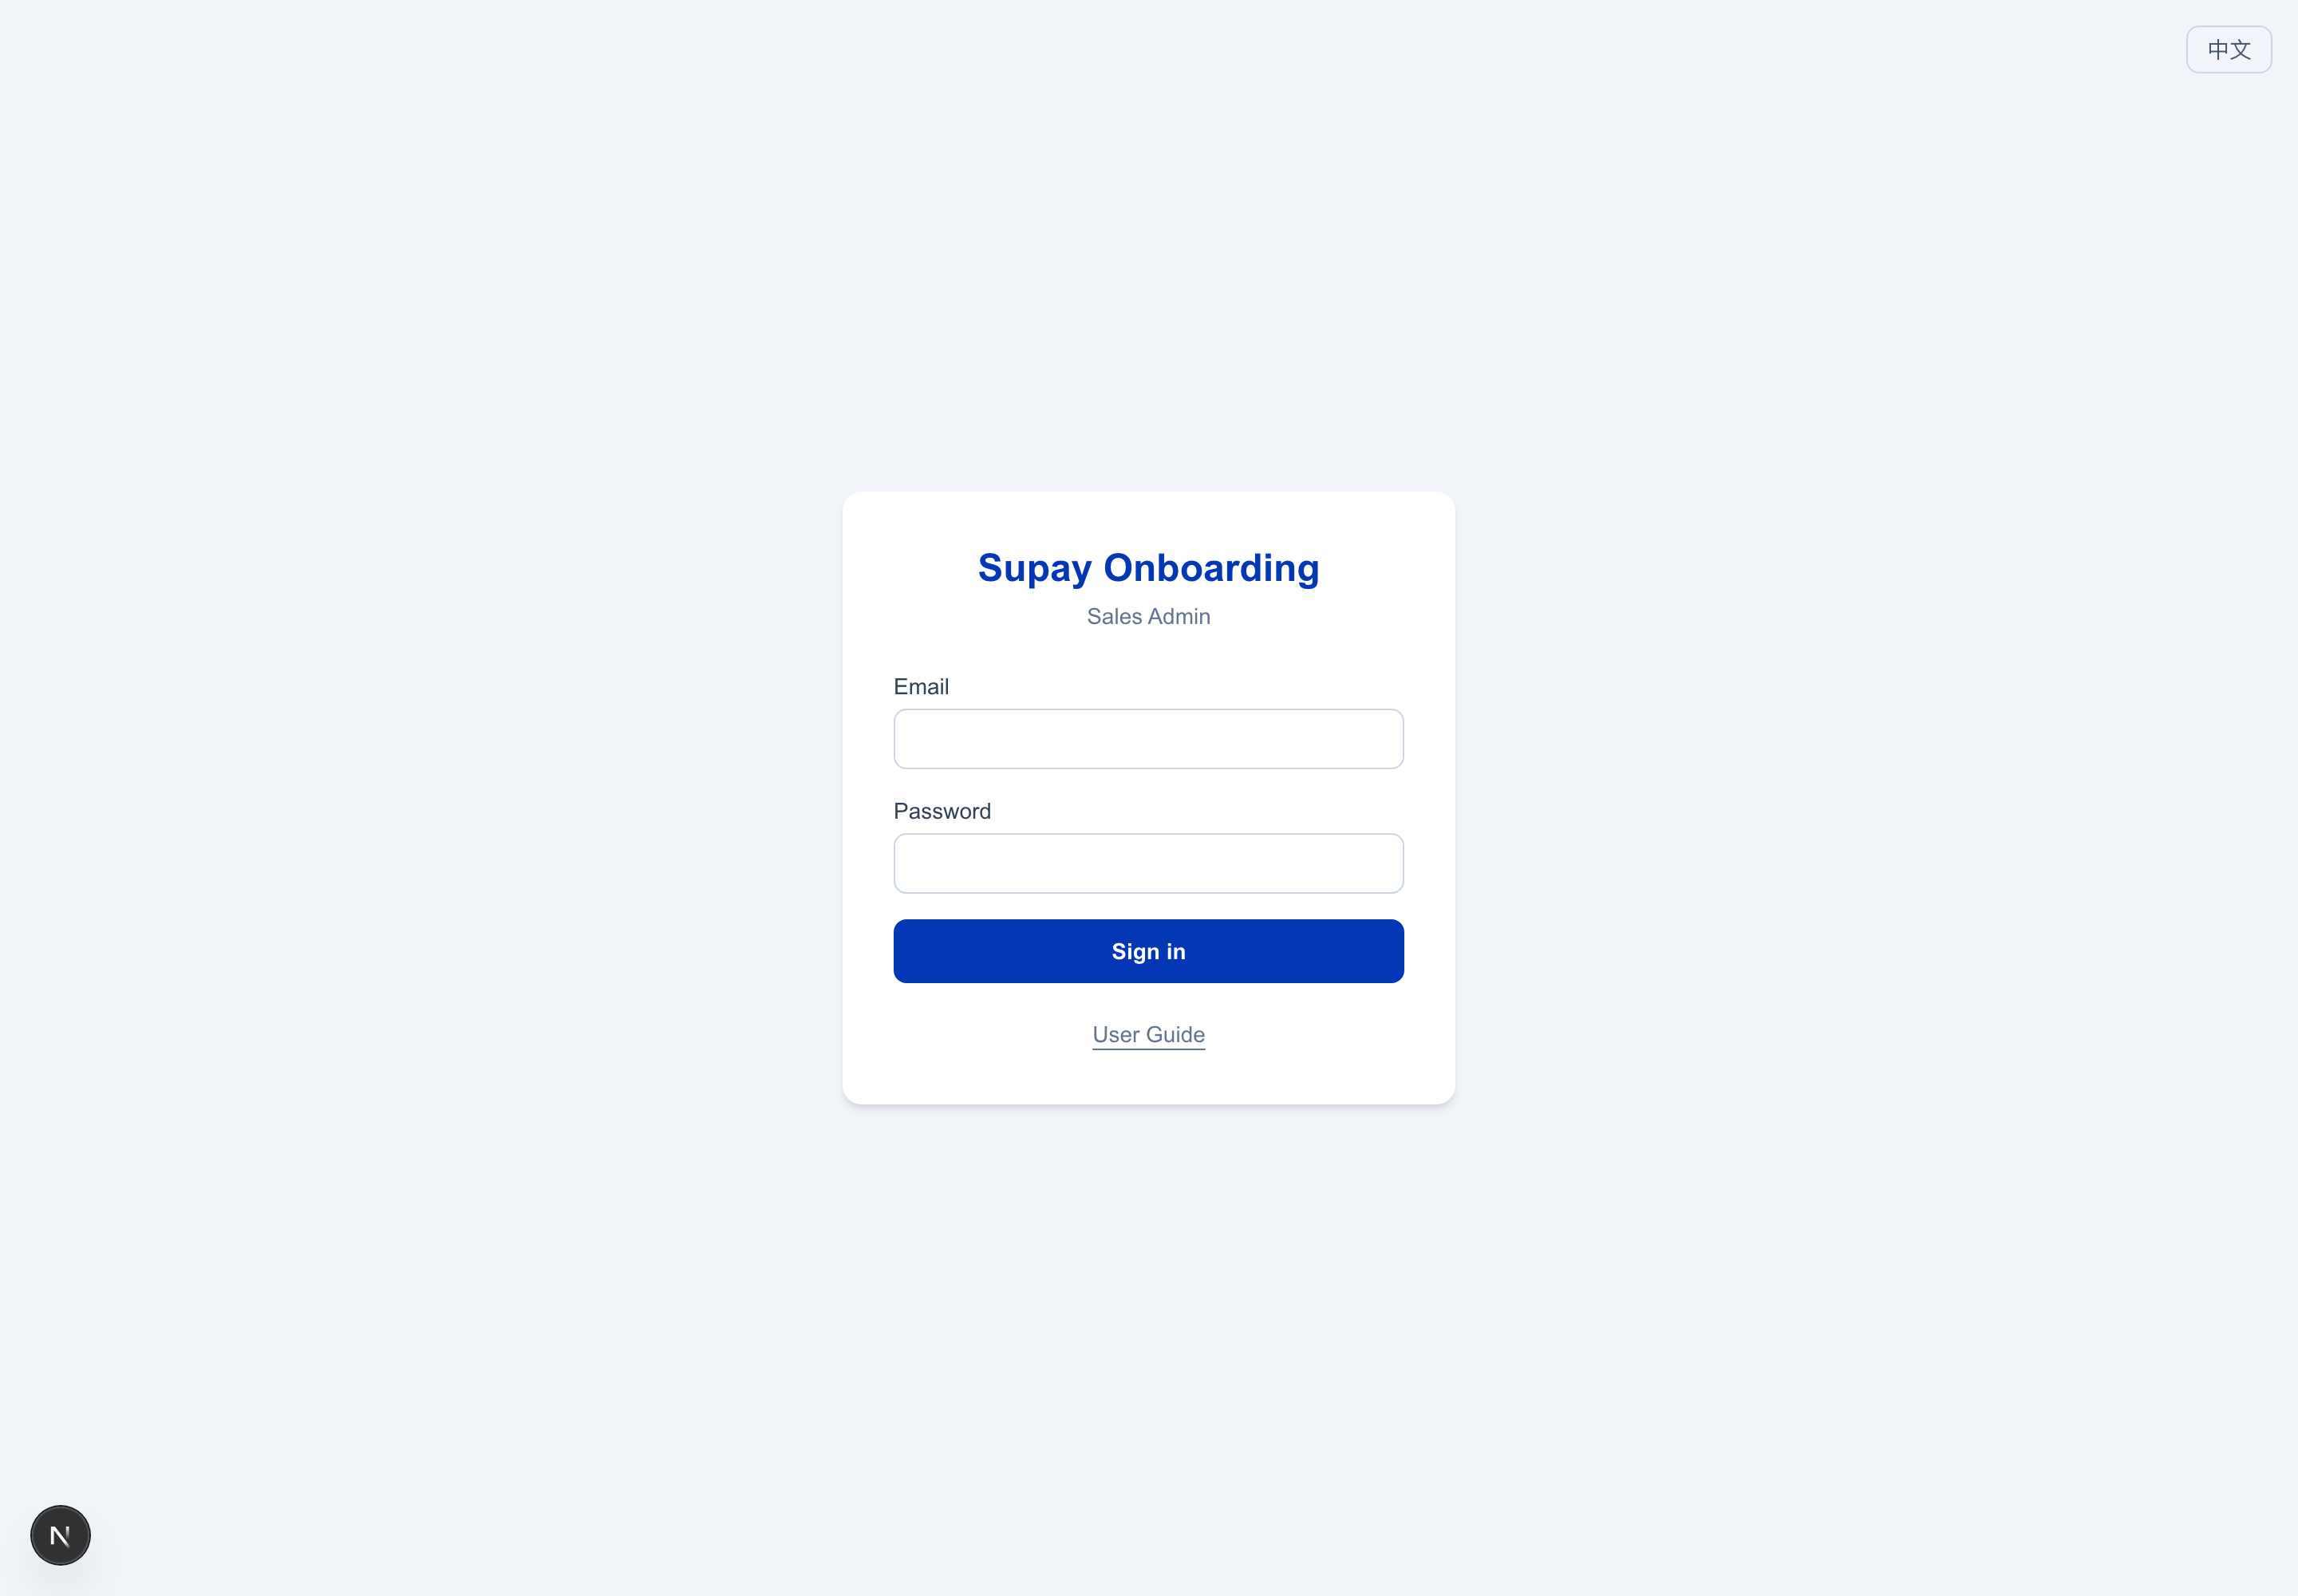
Sign in
All rolesOpen the system URL and sign in with the email + password assigned to you. Accounts can only be created by a higher role (Sales by Manager/Master; Manager/Onboarder/Master by Master). Switch 中文 / English from the top-right at any time.
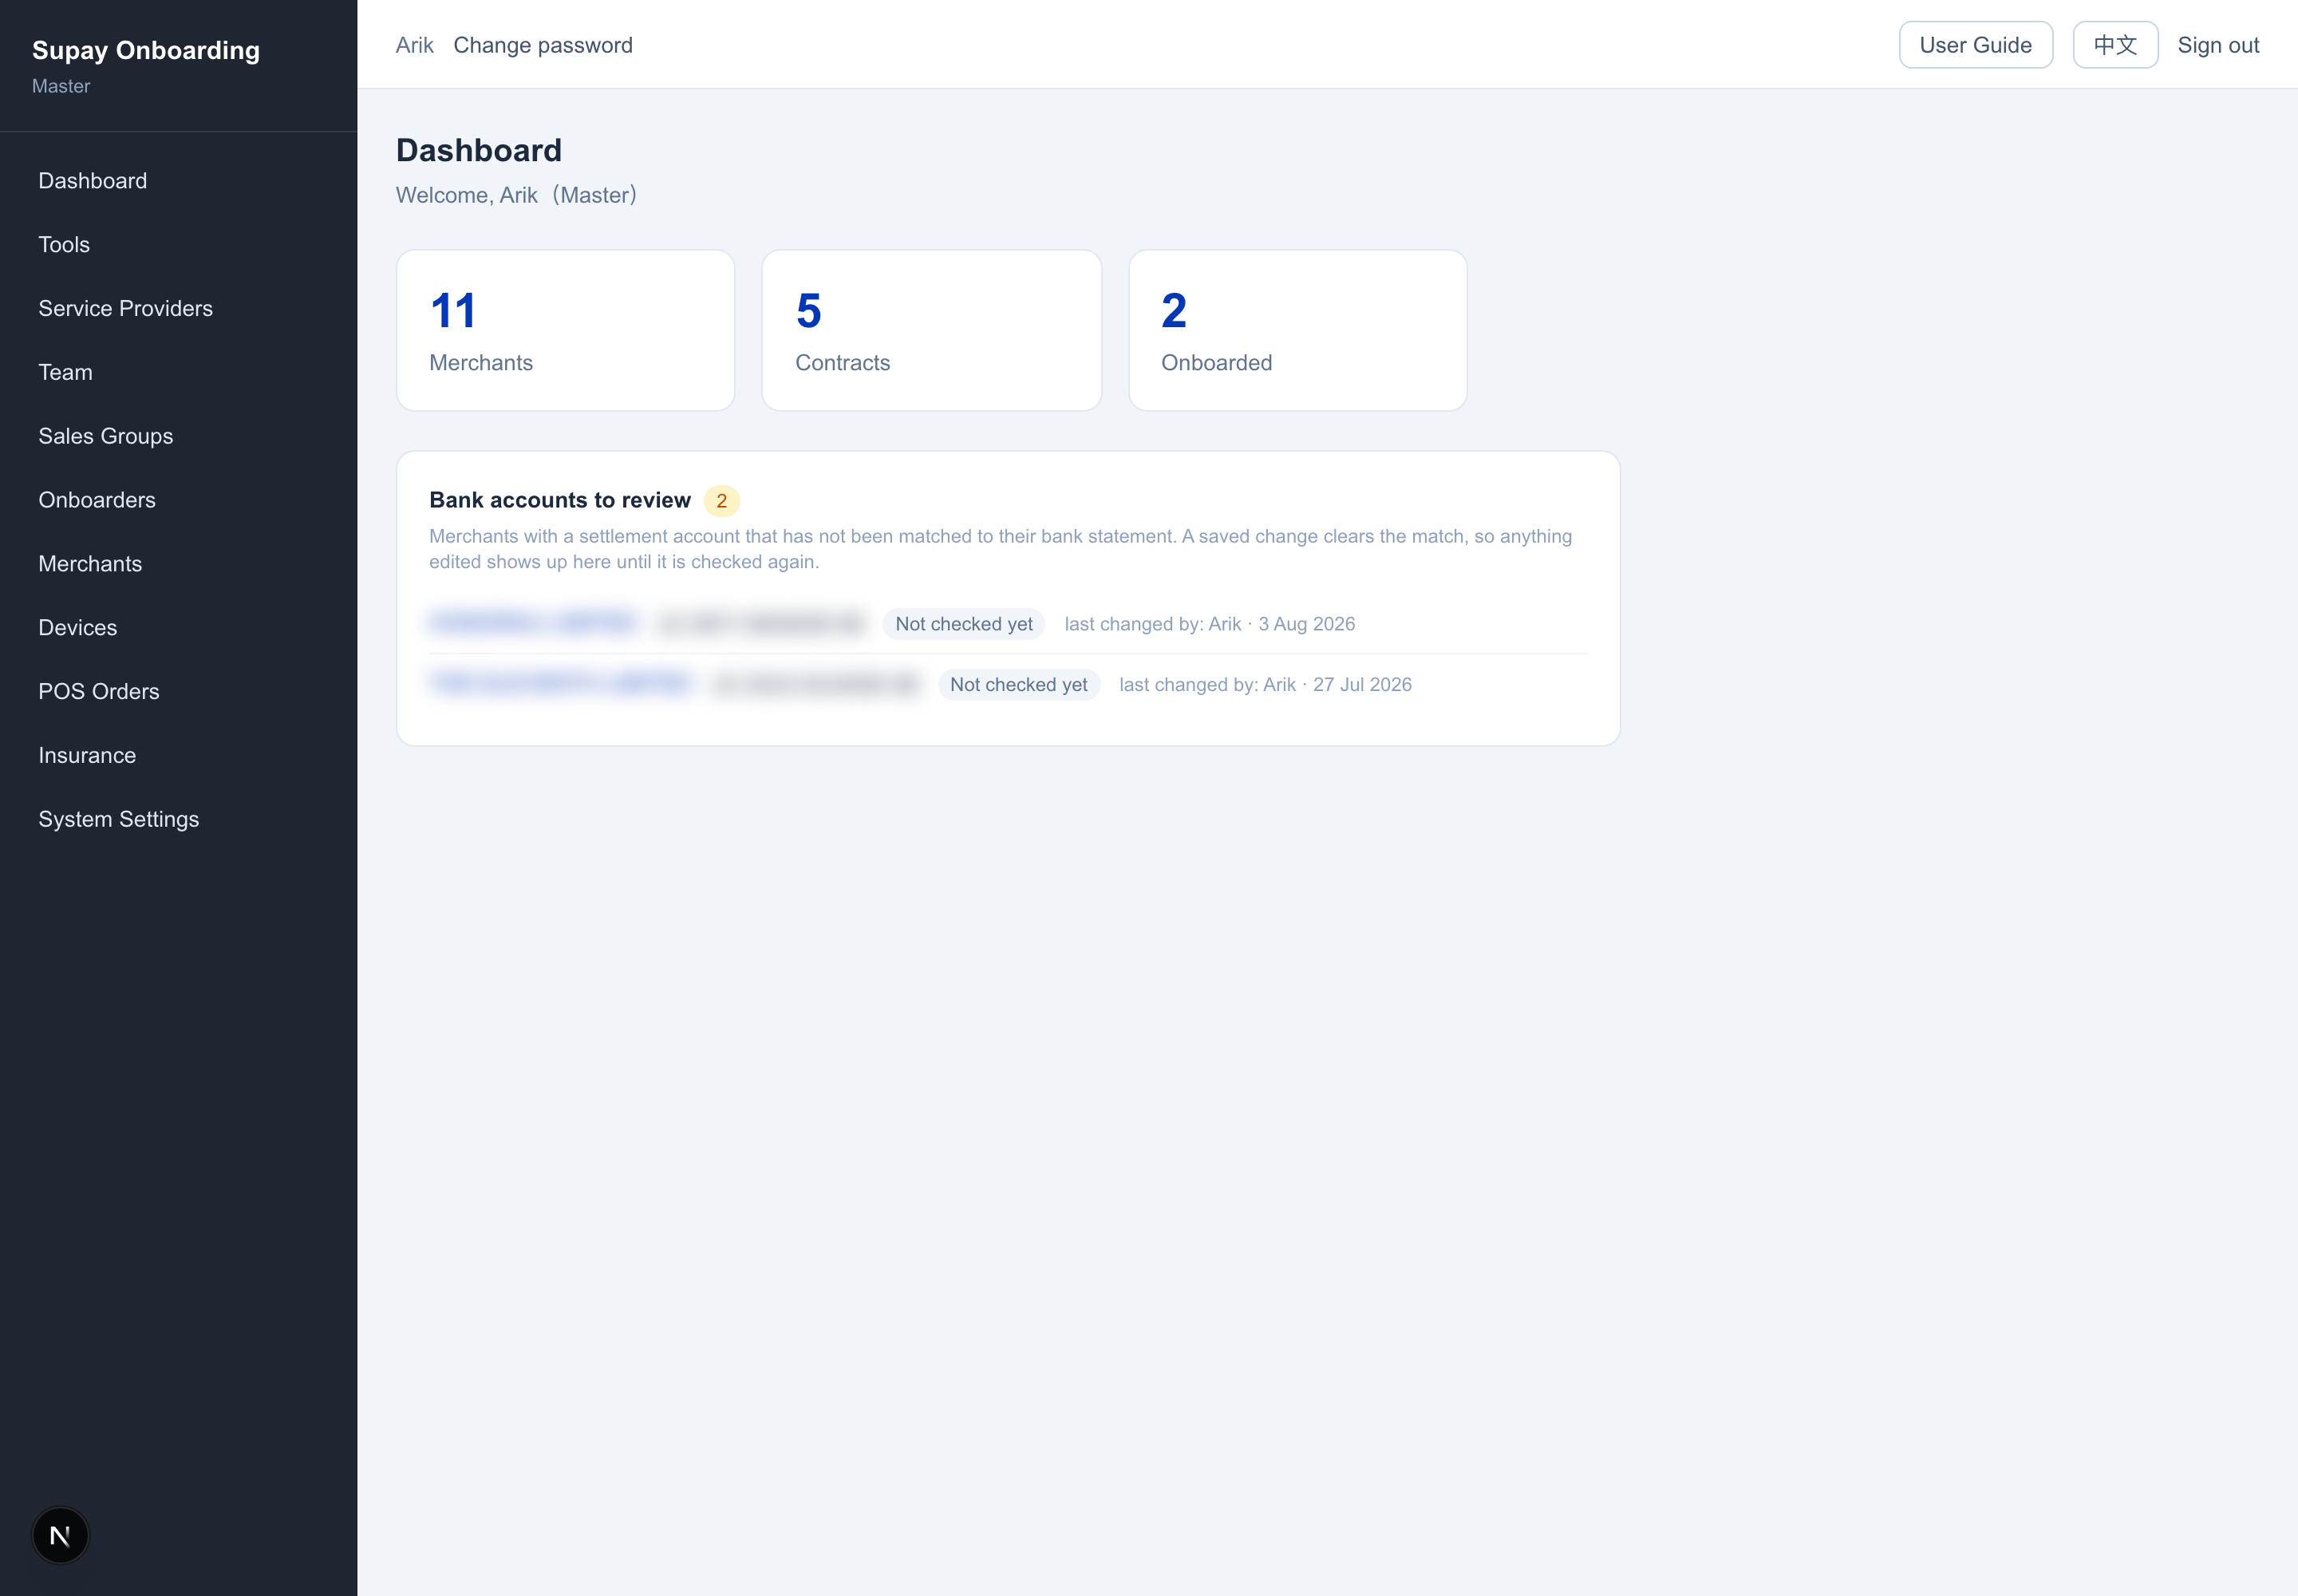
Dashboard overview
All rolesAfter signing in you land on the dashboard. Three stat cards show Merchants / Contracts / Onboarded — the numbers scope to your role: Sales sees only their own, Manager their Provider, Master everything. The left menu is exactly the set of features you are authorized for (shown here as Master, with every item).
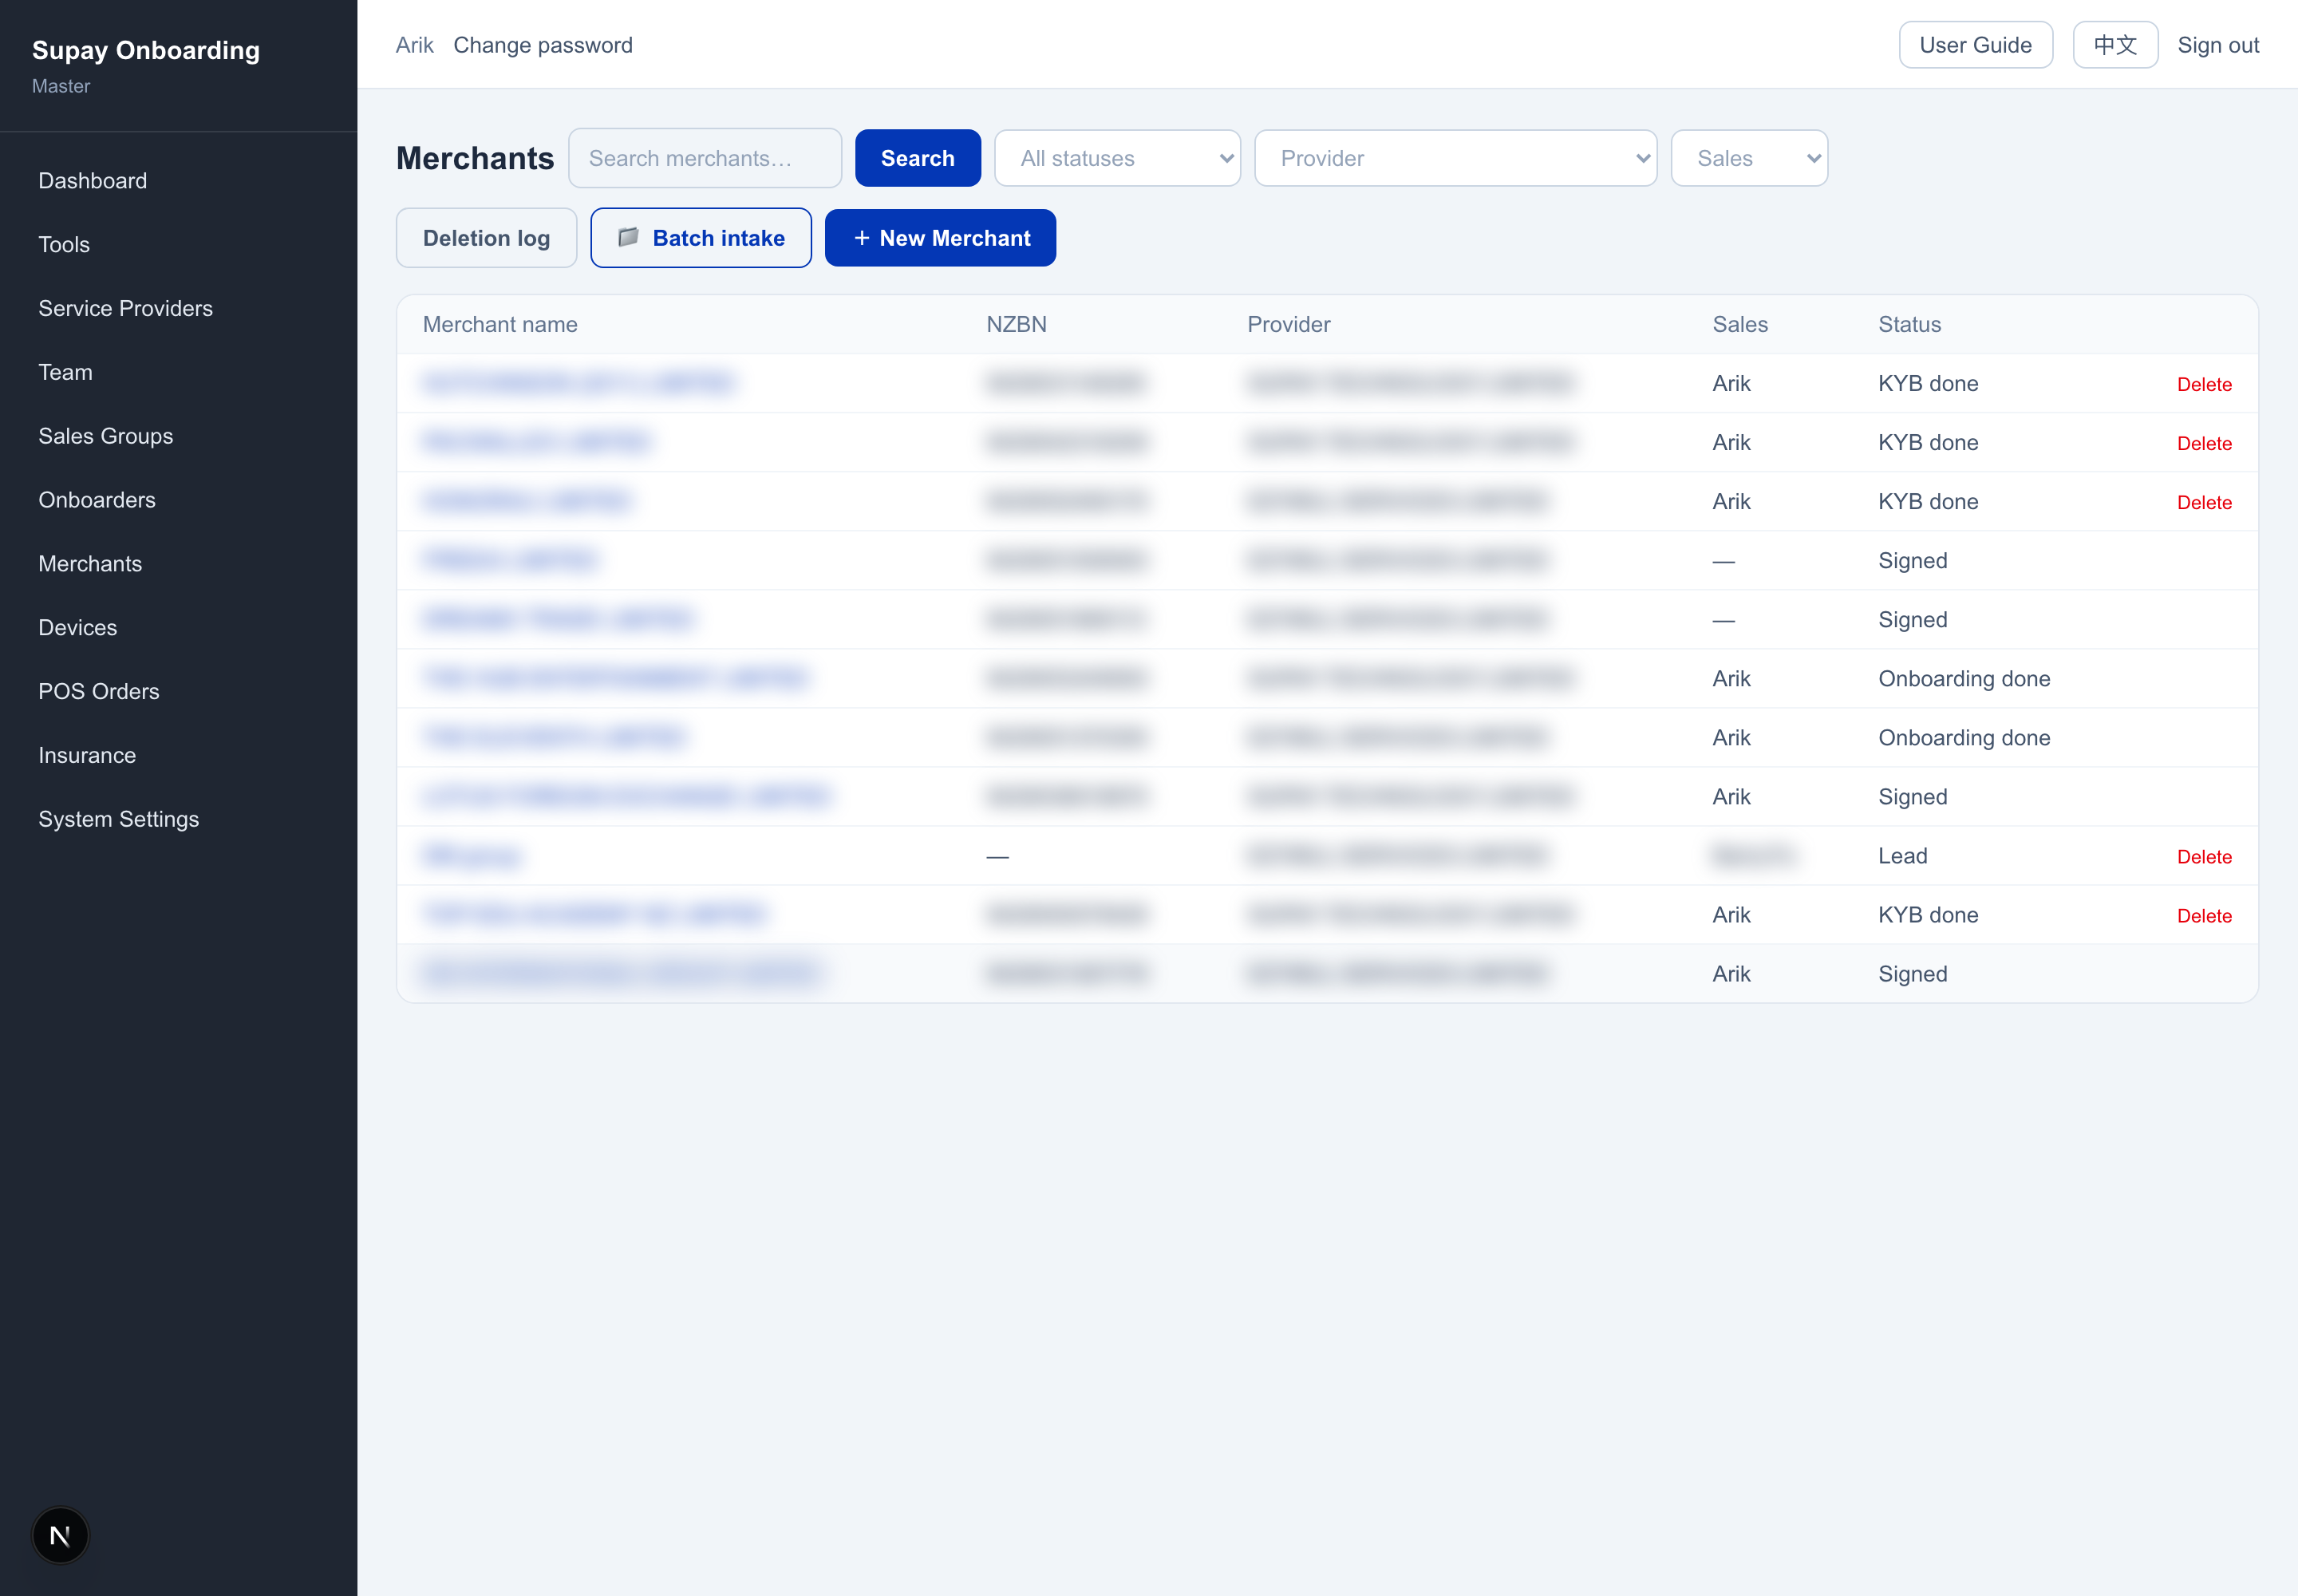
Merchant list: search · filter · new · delete
Sales+ · delete Master onlyOn the Merchants page: a search box (fuzzy over name / NZBN / provider / sales, or paste a MID to find its owner), three filter dropdowns (status / provider / sales), + New Merchant, and Batch intake (paste text, AI splits it into merchants — everyone except Onboarder / Viewer). Master also gets a Delete button per row and a Deletion log at the top. Click a merchant name to open its detail.
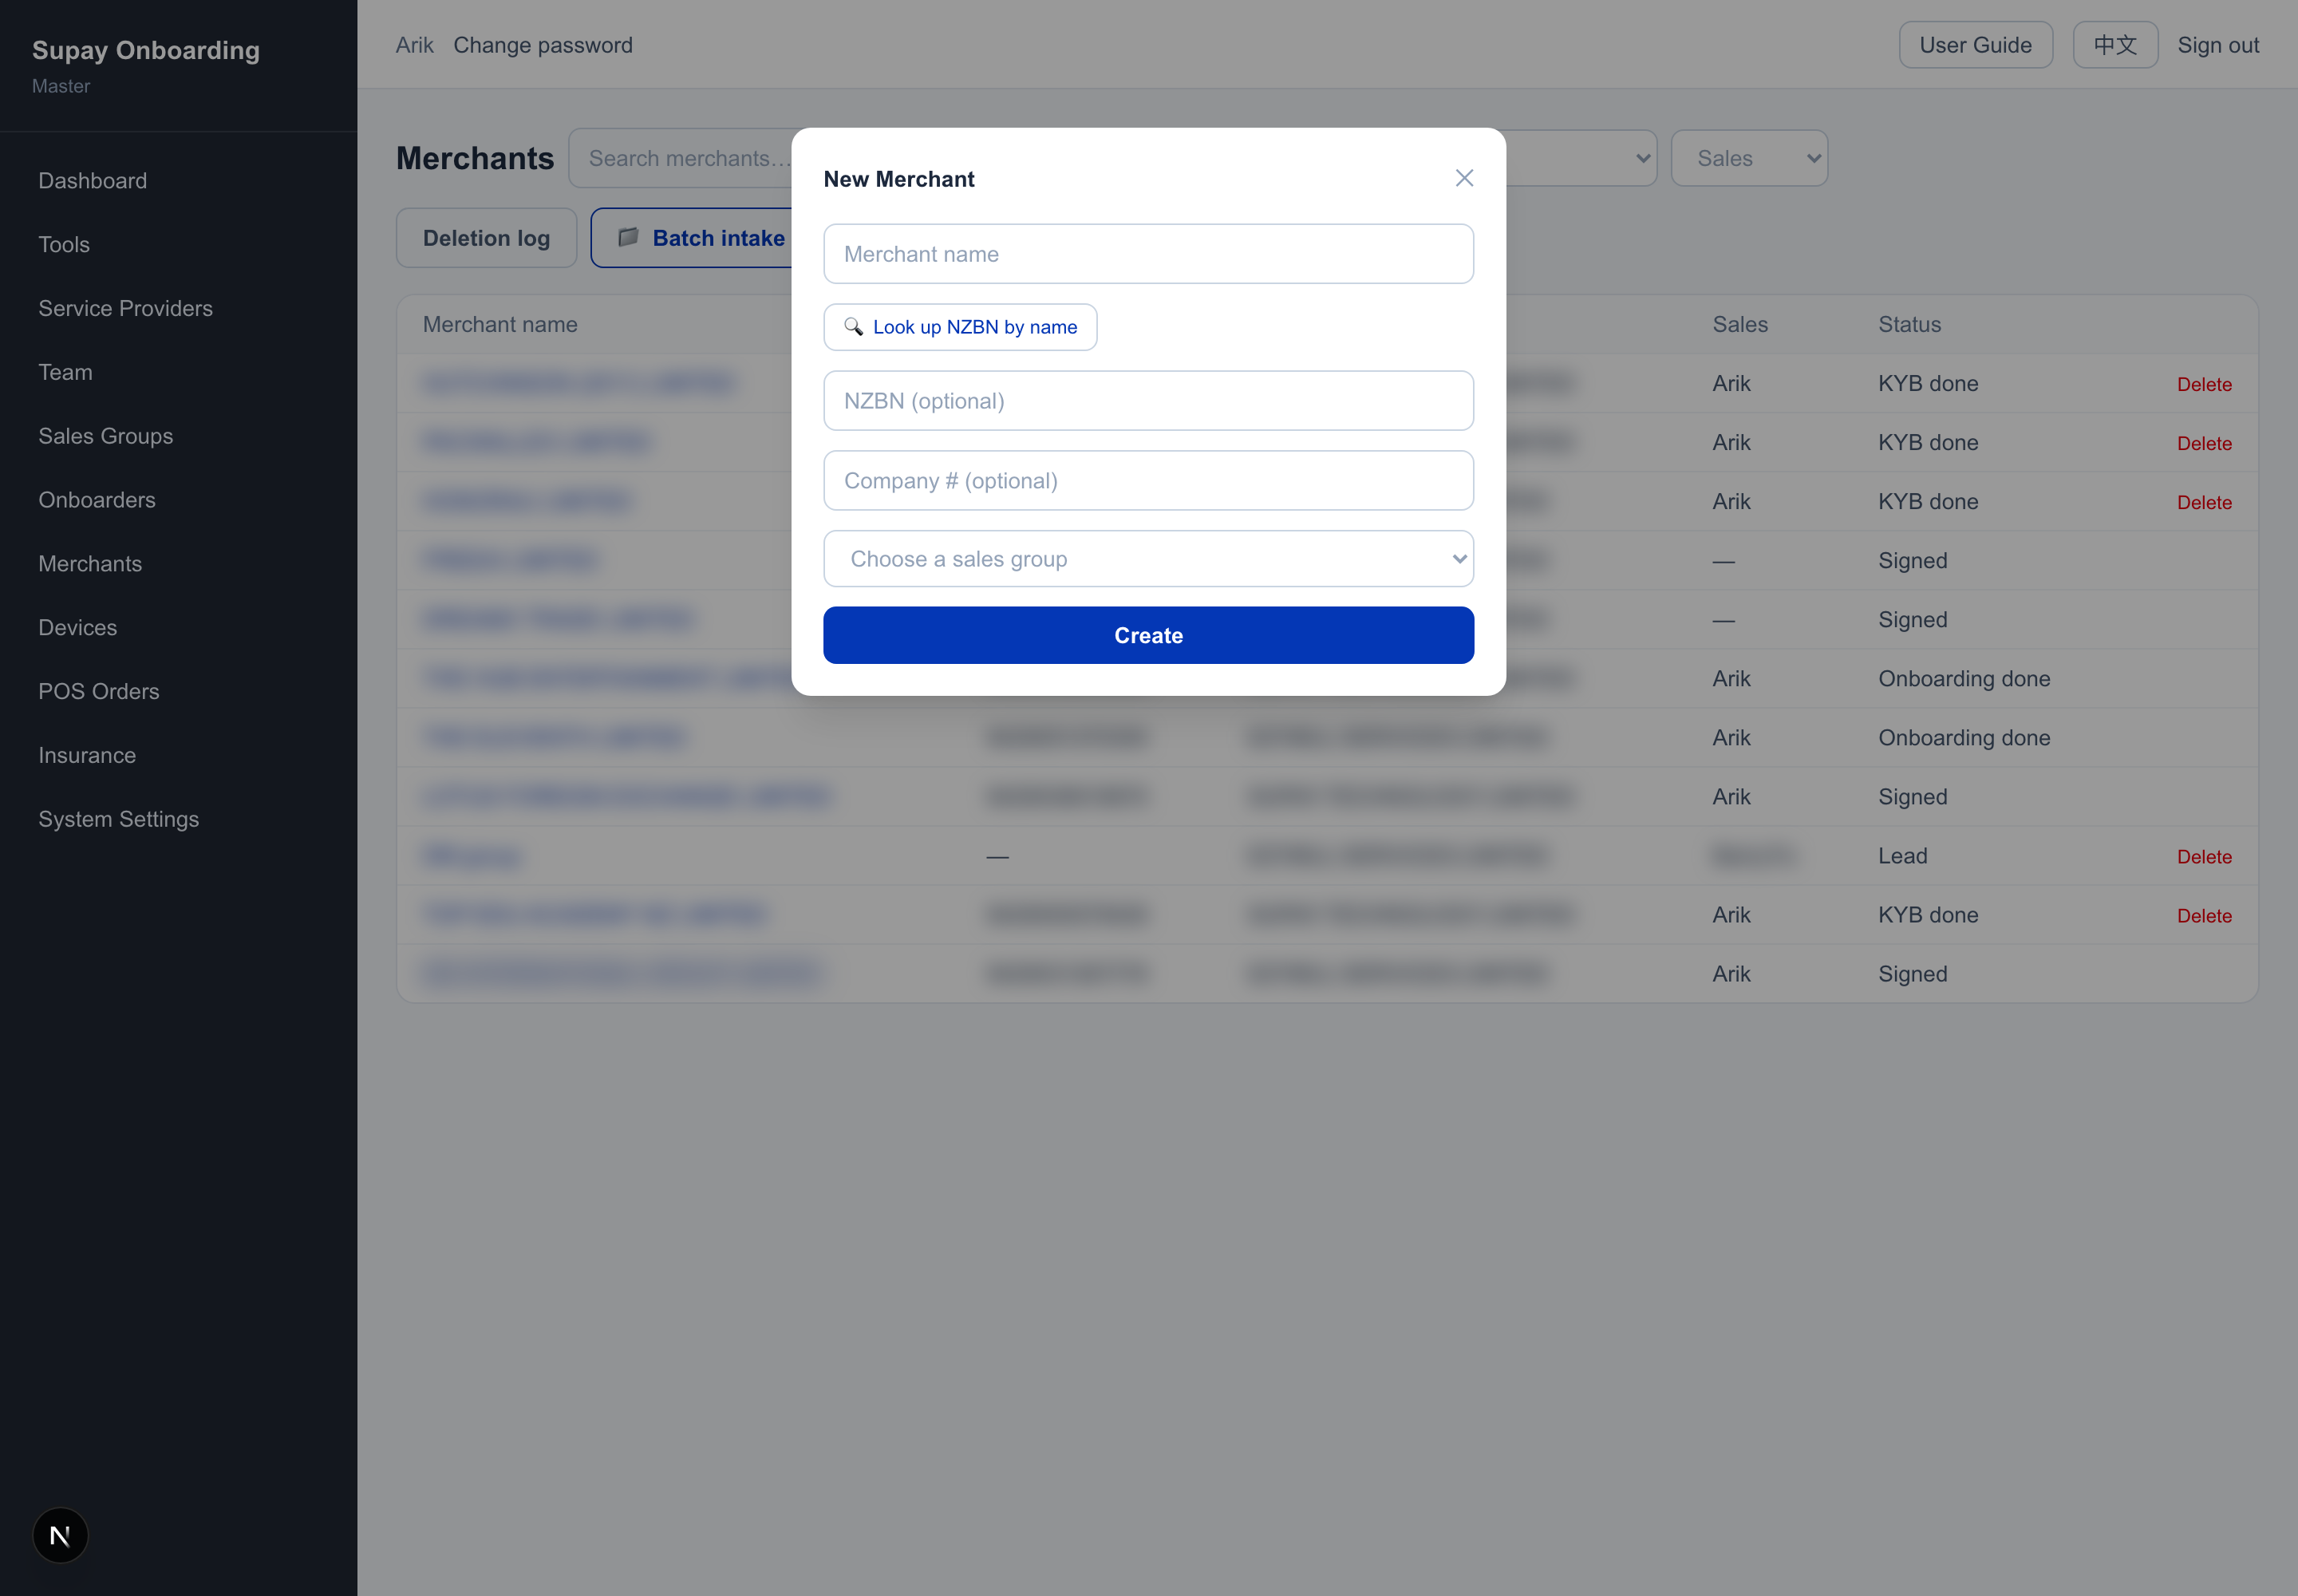
Create a merchant
Sales / Manager / Master- Click + New Merchant to open the dialog.
- Enter the merchant name; click “Look up NZBN by name” to auto-fill the NZBN and company number.
- Pick a provider (Sales is auto-assigned to their own).
- Click Create.
⚠️ If the company is already registered as a service provider, the system refuses to also create it as a merchant.
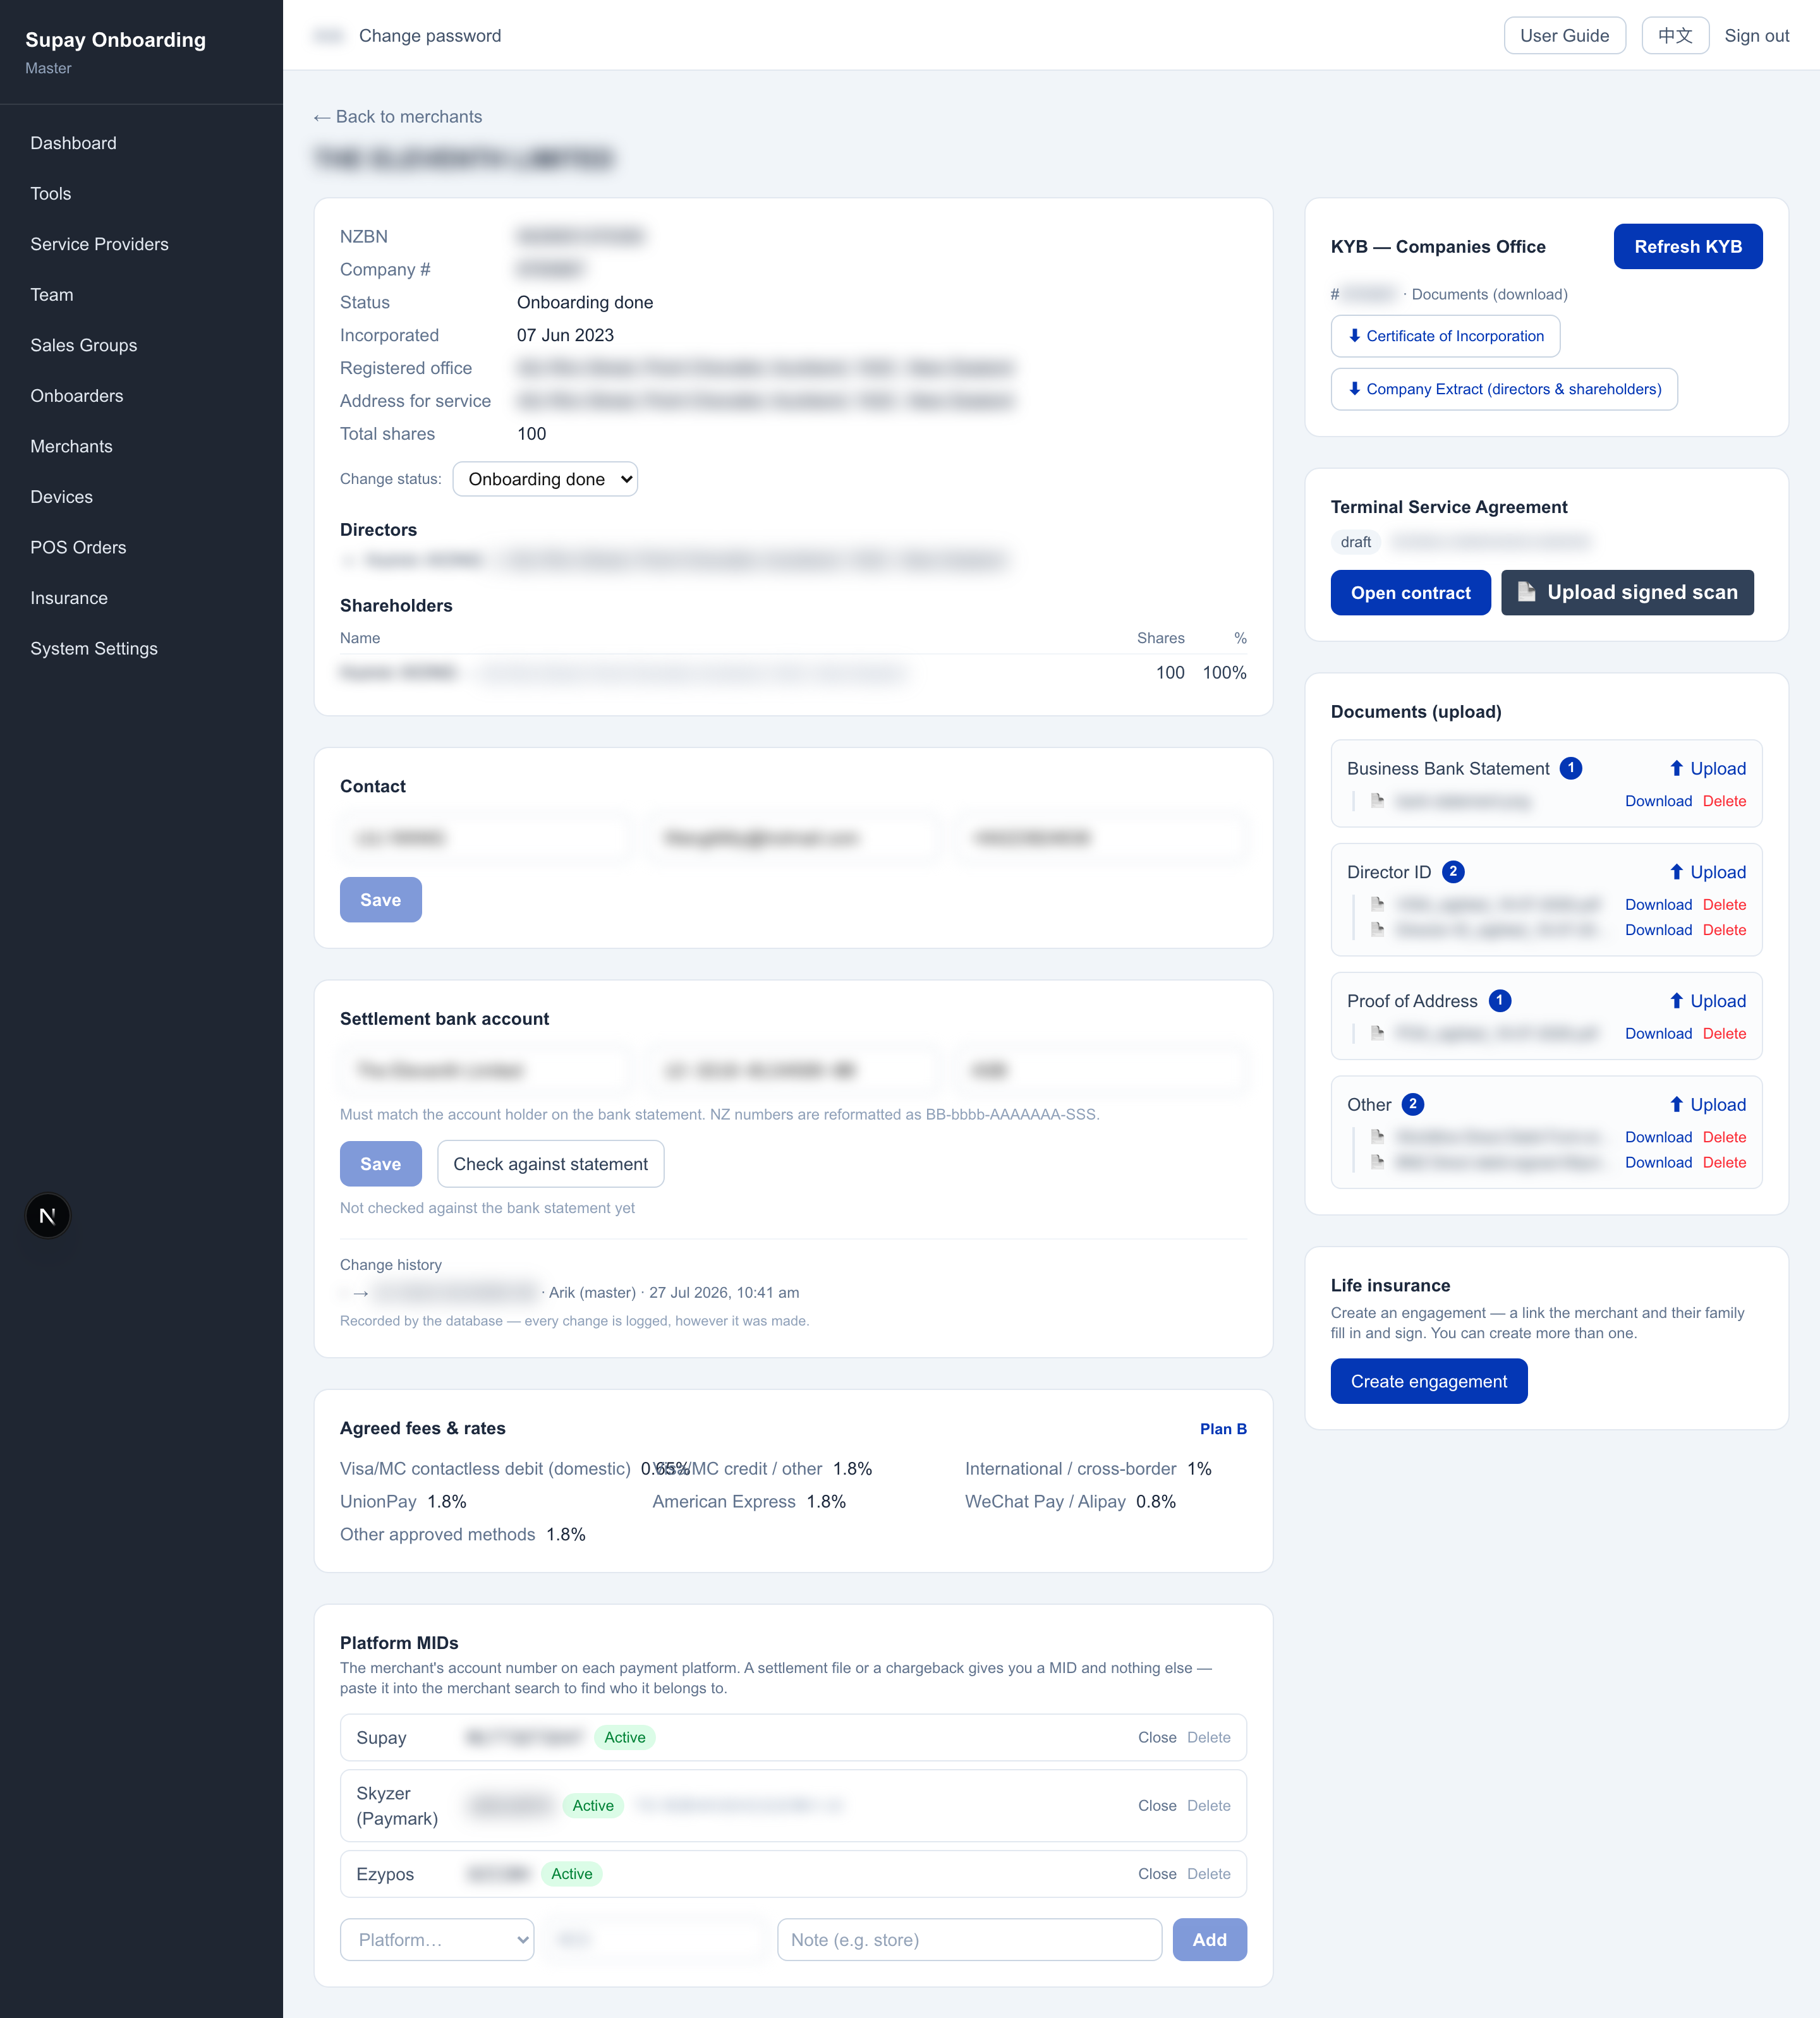
Merchant detail: KYB · bank · MID · documents · contact · status
View all · change status Master only · Viewer maskedPanels include: KYB (Refresh KYB, download the certificate of incorporation and directors/shareholders extract), Bank account (account name / number / bank, with a one-click Check against statement; every change is logged), MID / platforms (record the merchant's account number on each payment platform, active / closed), Terminal Service Agreement (Open contract, see next step), Documents upload (bank statement / director ID / proof of address / other, stored securely and not public), and Contact.
The “Change status” dropdown is visible to Master only and can move the merchant to any status. An Onboarder instead sees an “Onboarding complete” button here. A Viewer sees everything masked except the merchant name. Pulling KYB auto-advances the status to KYB done.
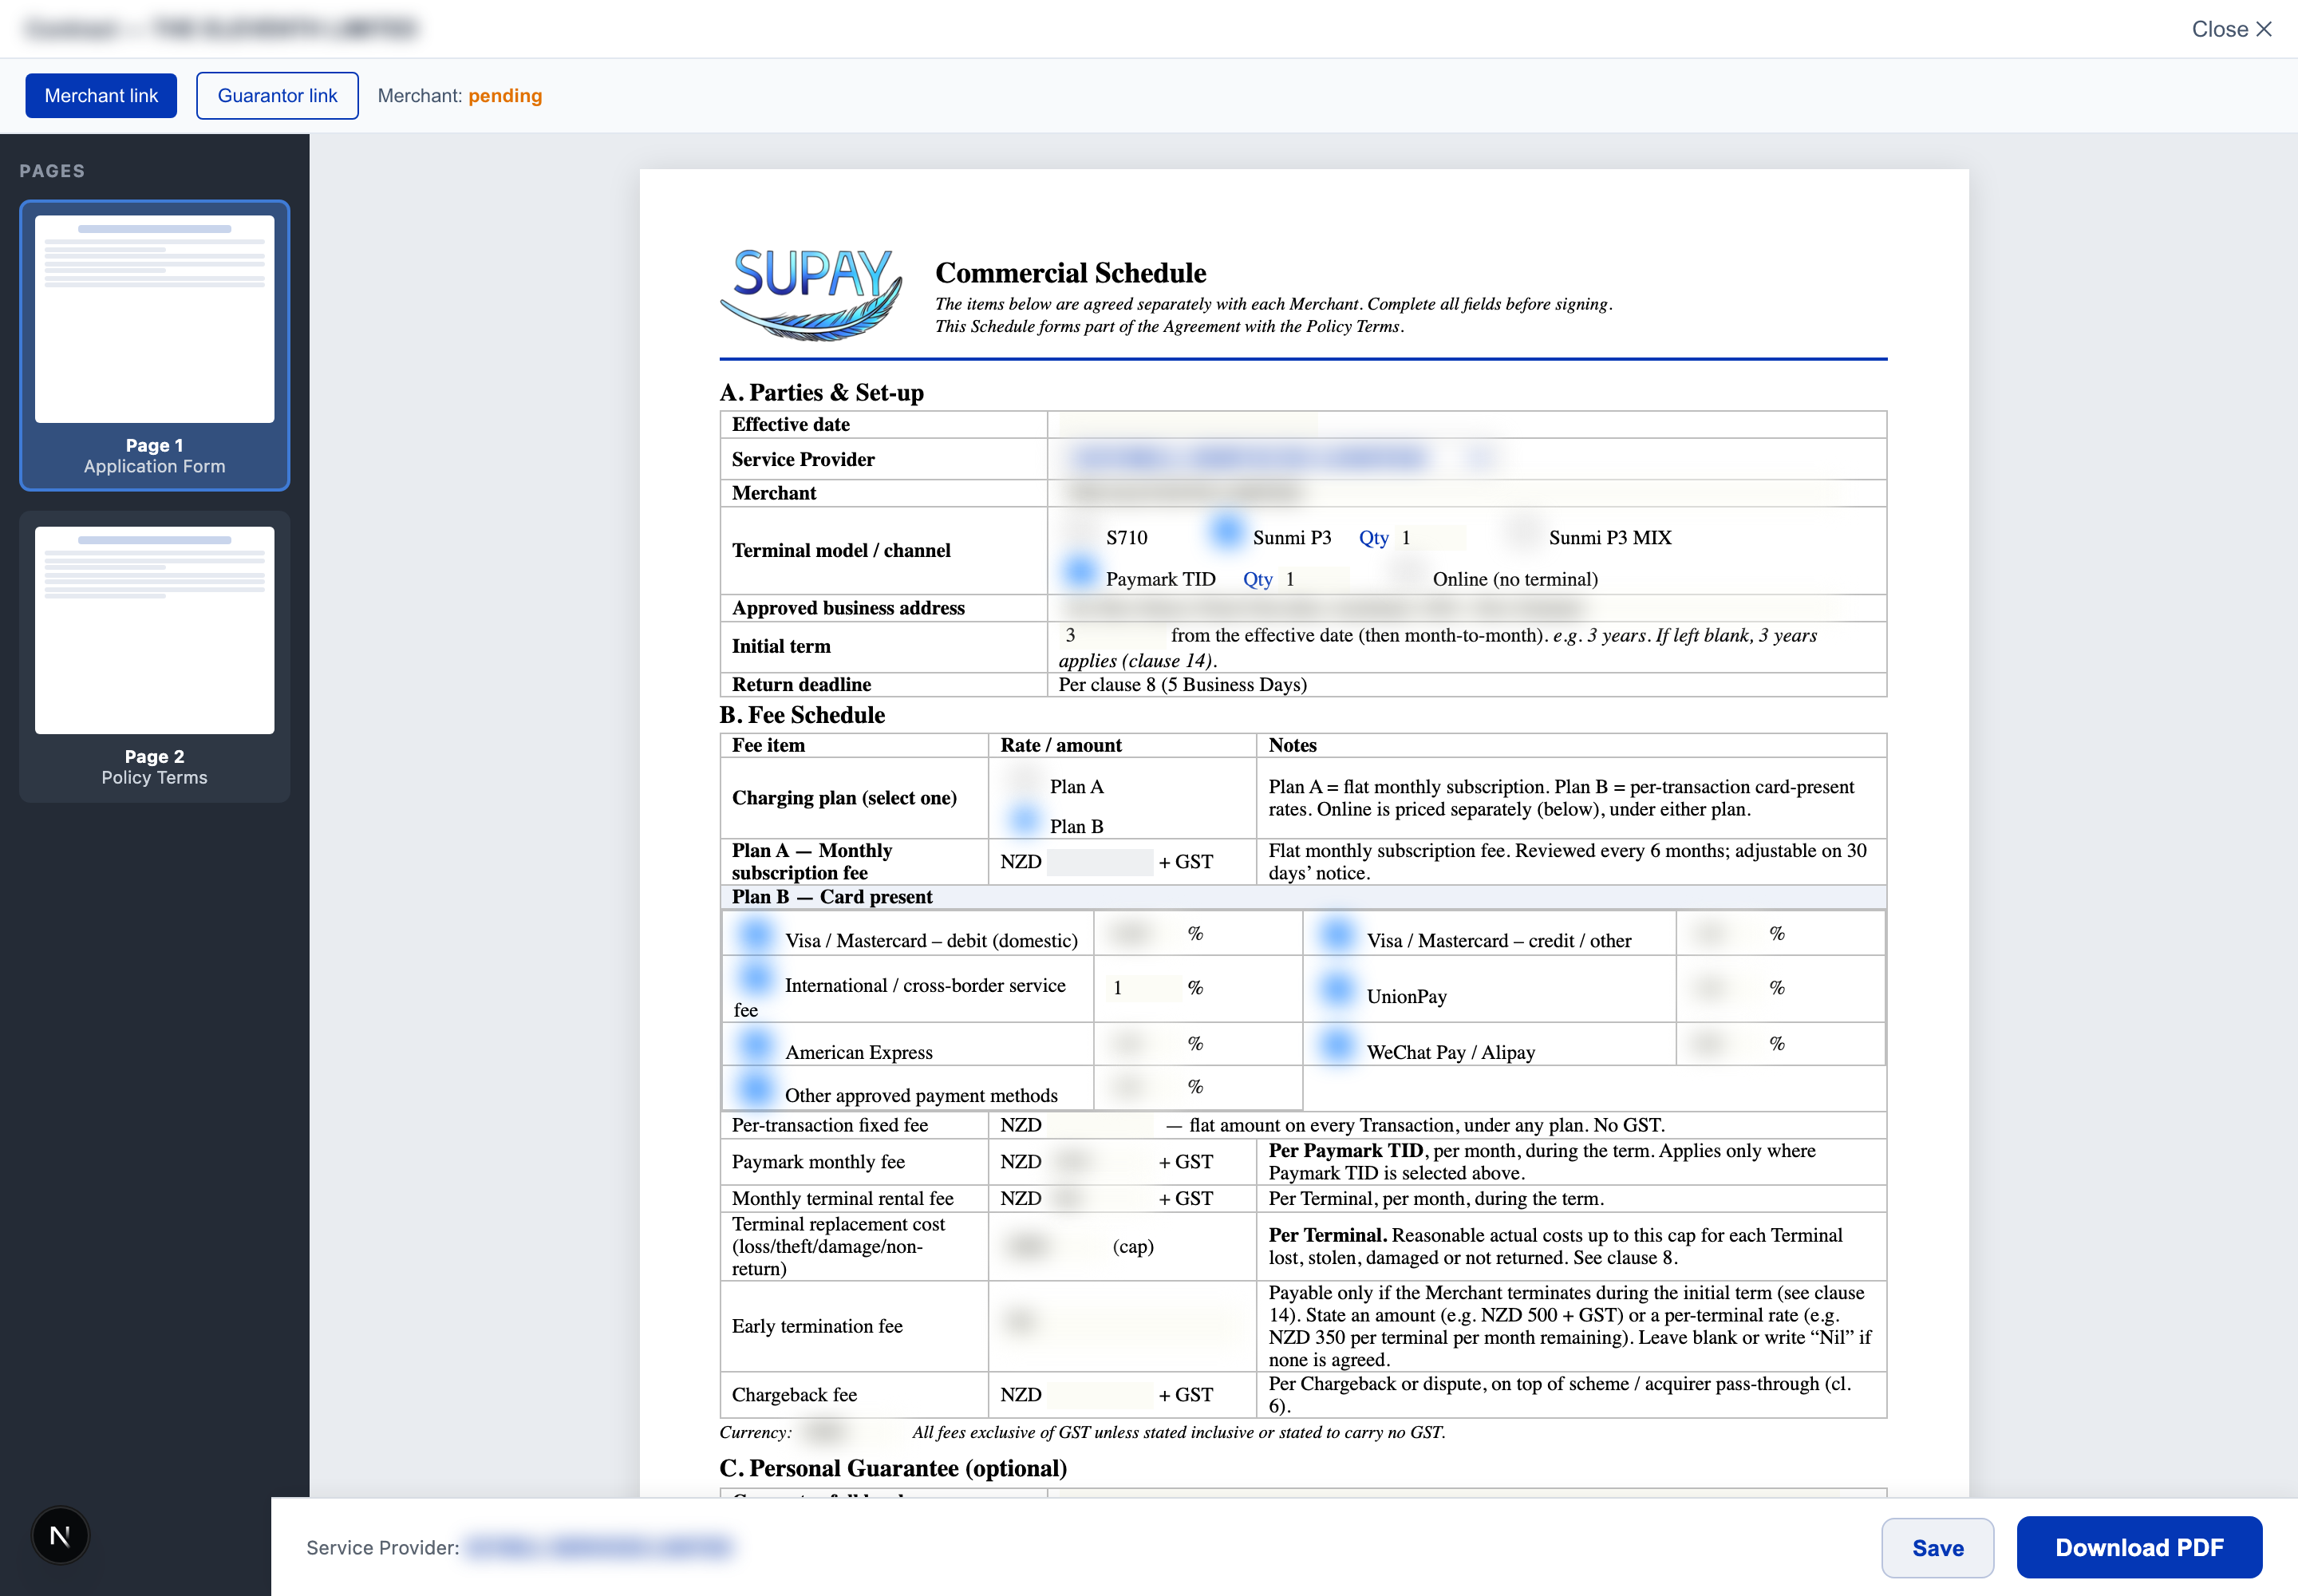
Edit contract + generate signing links
Sales+ (Onboarder can maintain)- On the detail page click Open contract.
- While it is a draft, fill in the terms / rates: pick Plan A (flat monthly subscription) or Plan B (per-transaction card-present rates); the Online channel is independent — tick it to fill, works under either plan; plus a global fixed fee per transaction (no GST), a chargeback fee, and optional Special Conditions (ticked → a separate page 3). Click Save.
- Click Merchant link and Guarantor link to generate the two role-scoped signing links; send each to the signer (each unlocks only their own fields and signature).
- The header shows the live Merchant / Guarantor signing status; once both have signed, the owner clicks Lock to finalize — the contract and the merchant status both advance to Signed.
Where the merchant signs: Commercial Schedule (page 1) + Policy Terms (page 2) + Special Conditions (page 3, only if ticked) — any missing page is rejected with a prompt. The guarantor signs once (Personal Guarantee, only when a guarantor is filled in).
Signing links expire in 7 days: after that the link is dead — it can't even be opened to view; re-sending gives another 7 days. For offline signing, upload the signed scan in the Agreement panel (equivalent to Lock, with the scan kept as the signed record), or have Master mark it Signed.
⚠️ Once a signing link is generated (status becomes “Sent”), the contract is locked — rates and terms can no longer change. To edit, do it in the draft stage before sending; a wrong send must be voided. A signed contract can't be edited — to change it, start a new contract (the old one stays in force until the new one is signed).
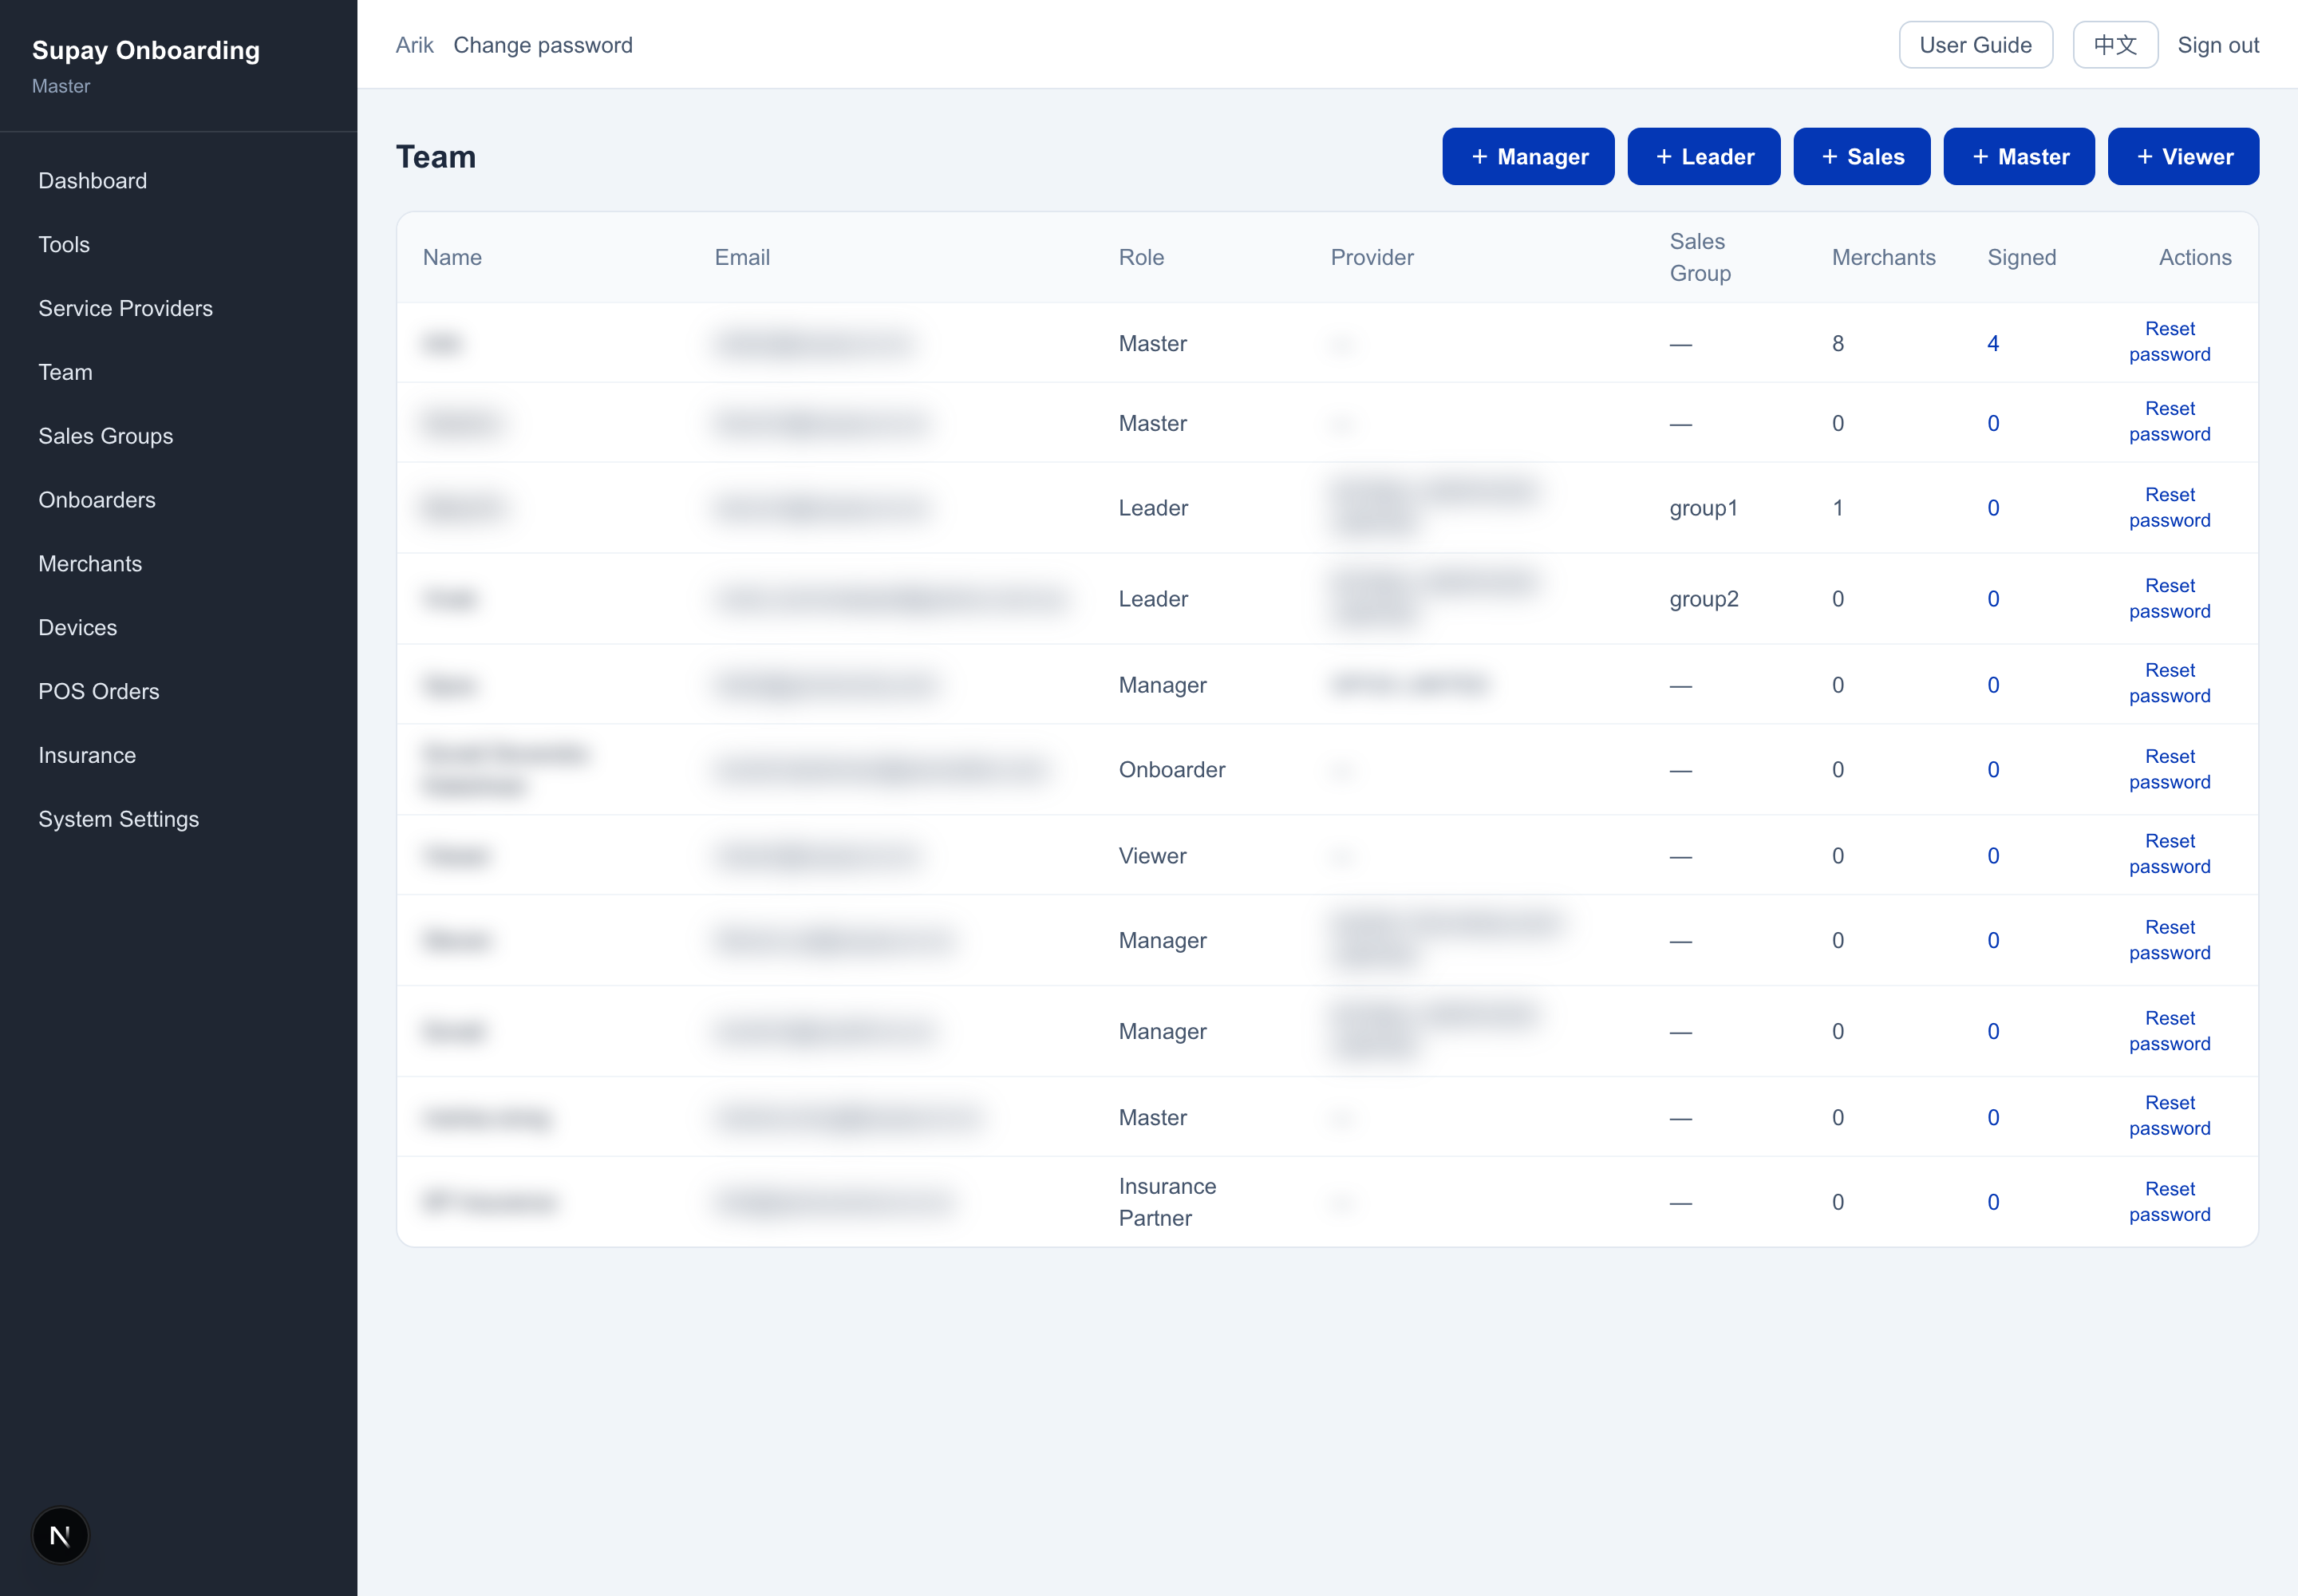
Team · Groups · create accounts
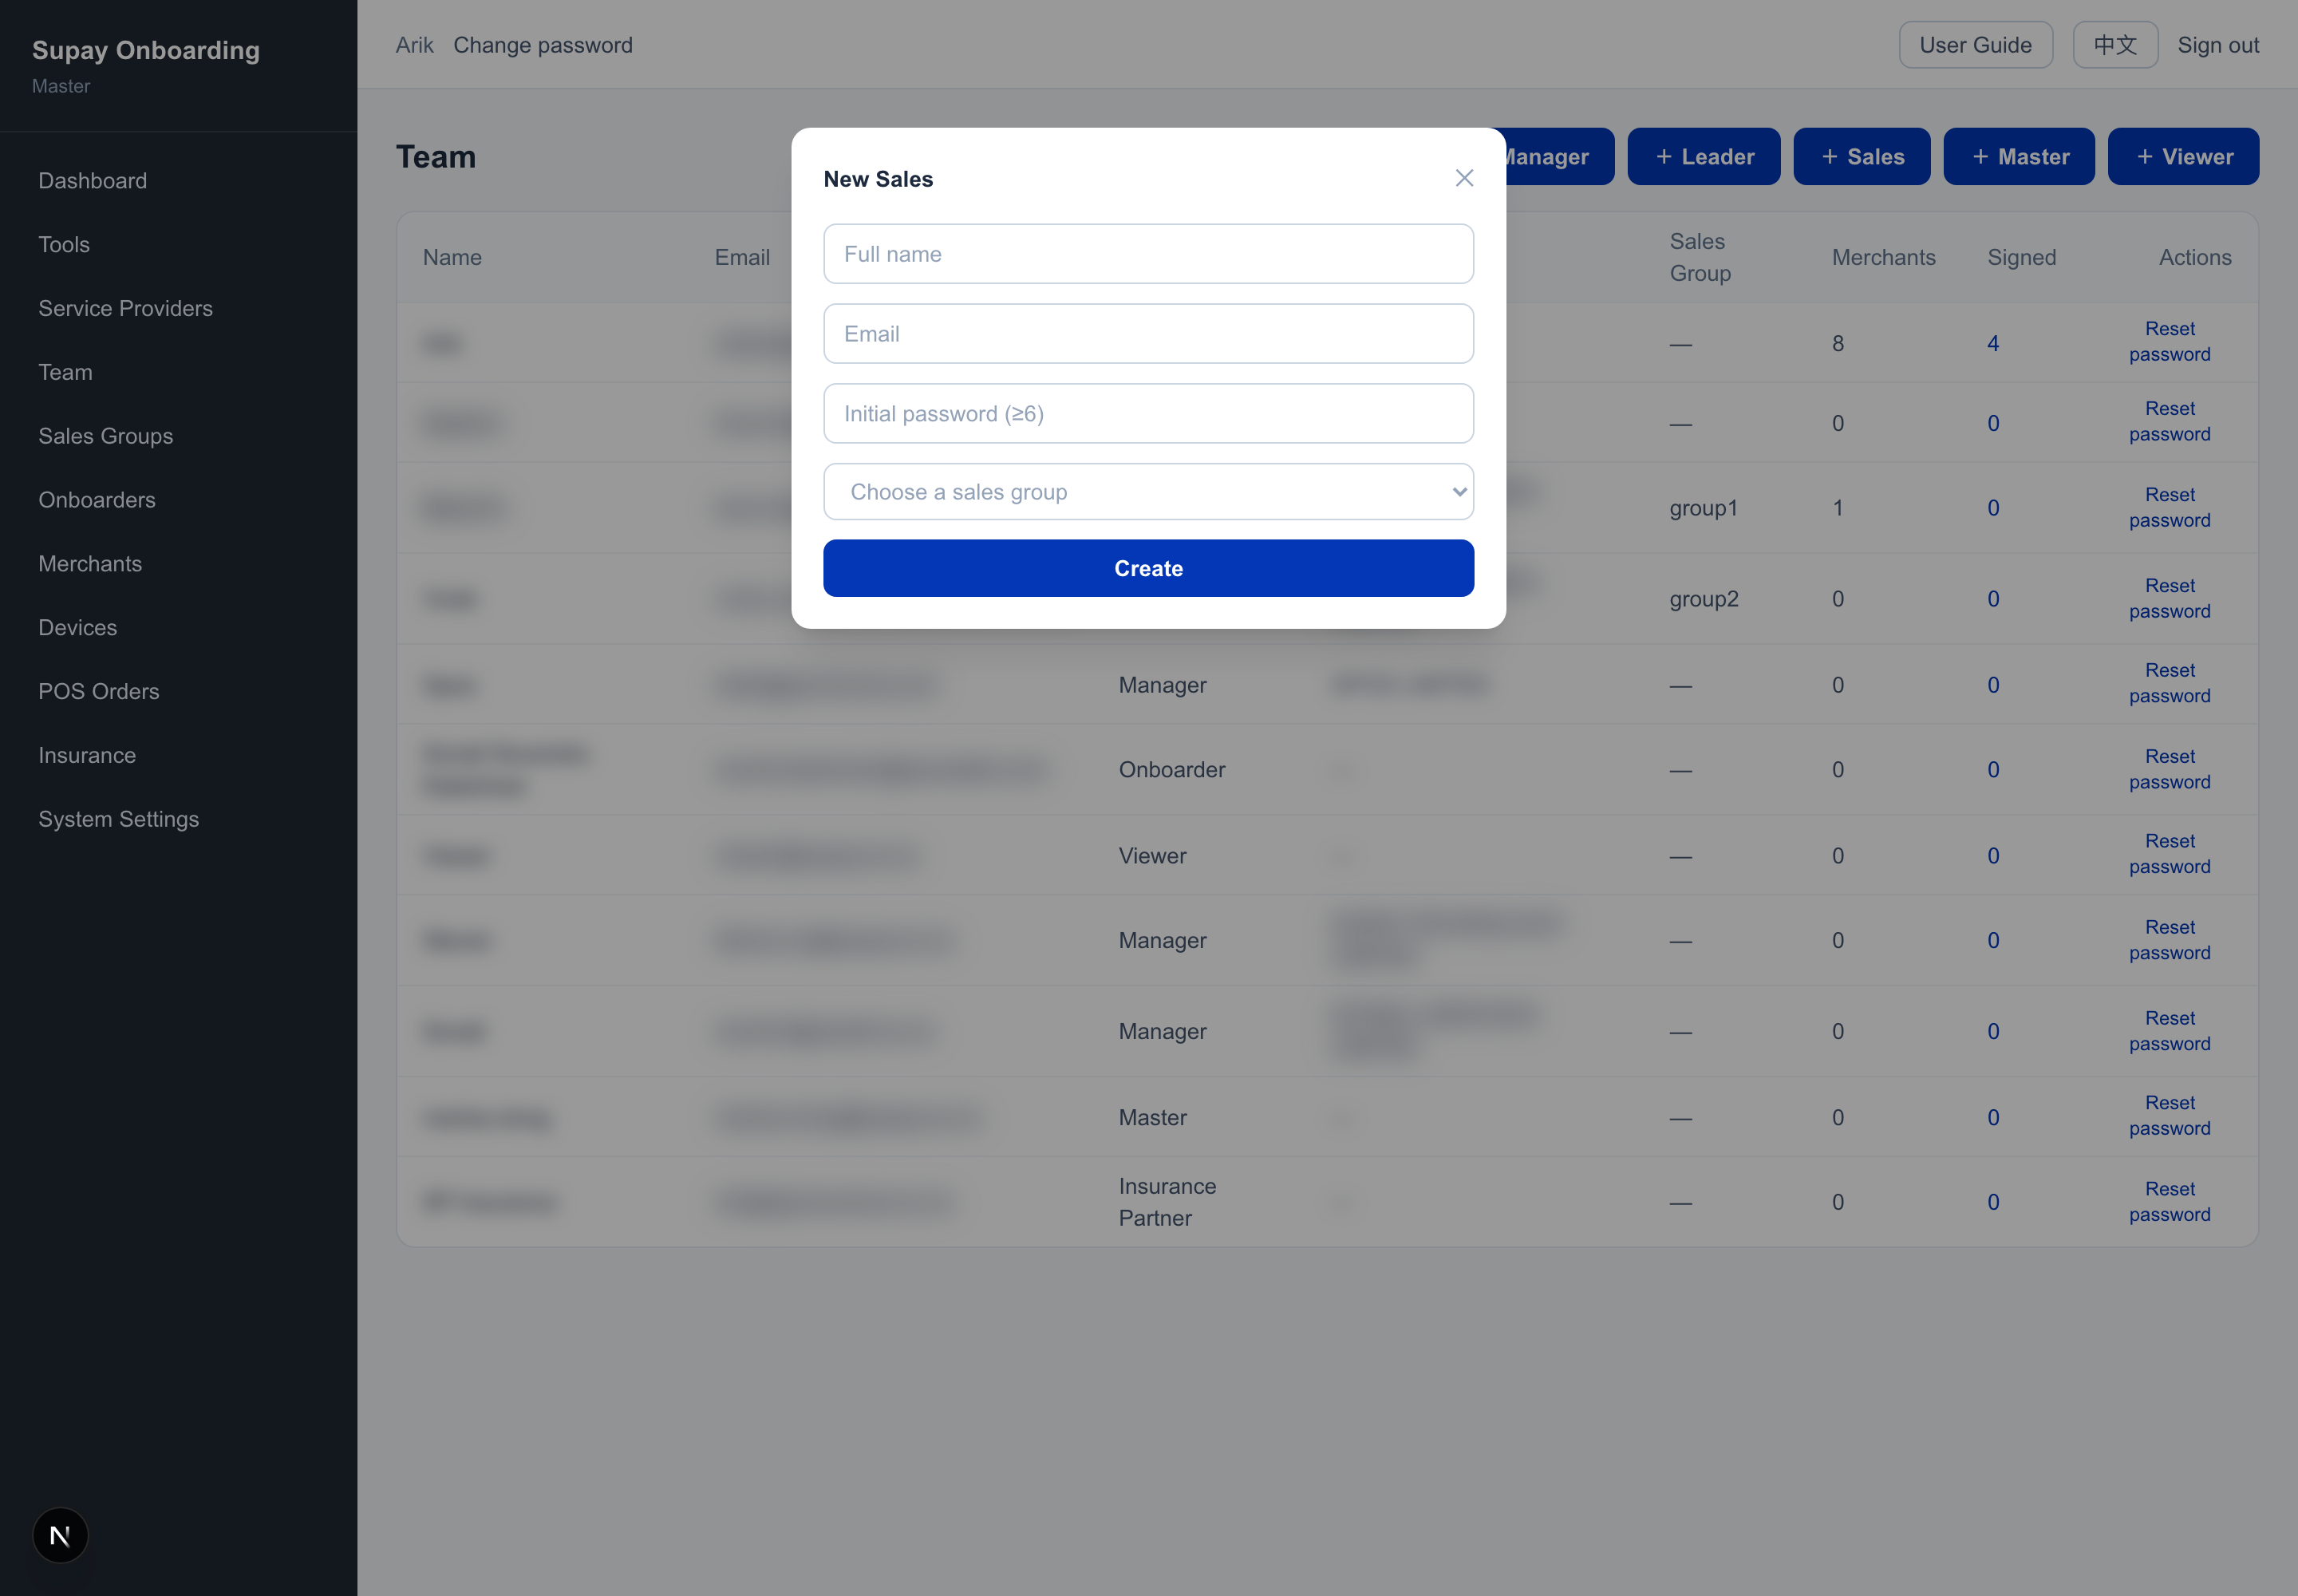
Manager (own provider) / Master (all)The Team page is accounts only: each person’s Merchants / Signed counts, with Reset password. Click a button to create an account — the scope field depends on the role: creating a Manager picks a provider; creating a Leader / Sales picks a group (the group fixes the provider, so you don’t pick a provider separately); creating a Master / Viewer needs no scope. Creation stacks by tier: Leader creates Sales in their group; Manager creates Leader / Sales in their provider; Master creates any role. Master can click a person’s Signed count to open their commission settlement page in a new tab (settle / unsettle per row, or settle all).
Sales groups (Master only): Master's left nav has a “Groups” page to create / list sales groups (pick a provider + name it); each group row also has a group-level agreement entry. The Team page keeps only account actions.
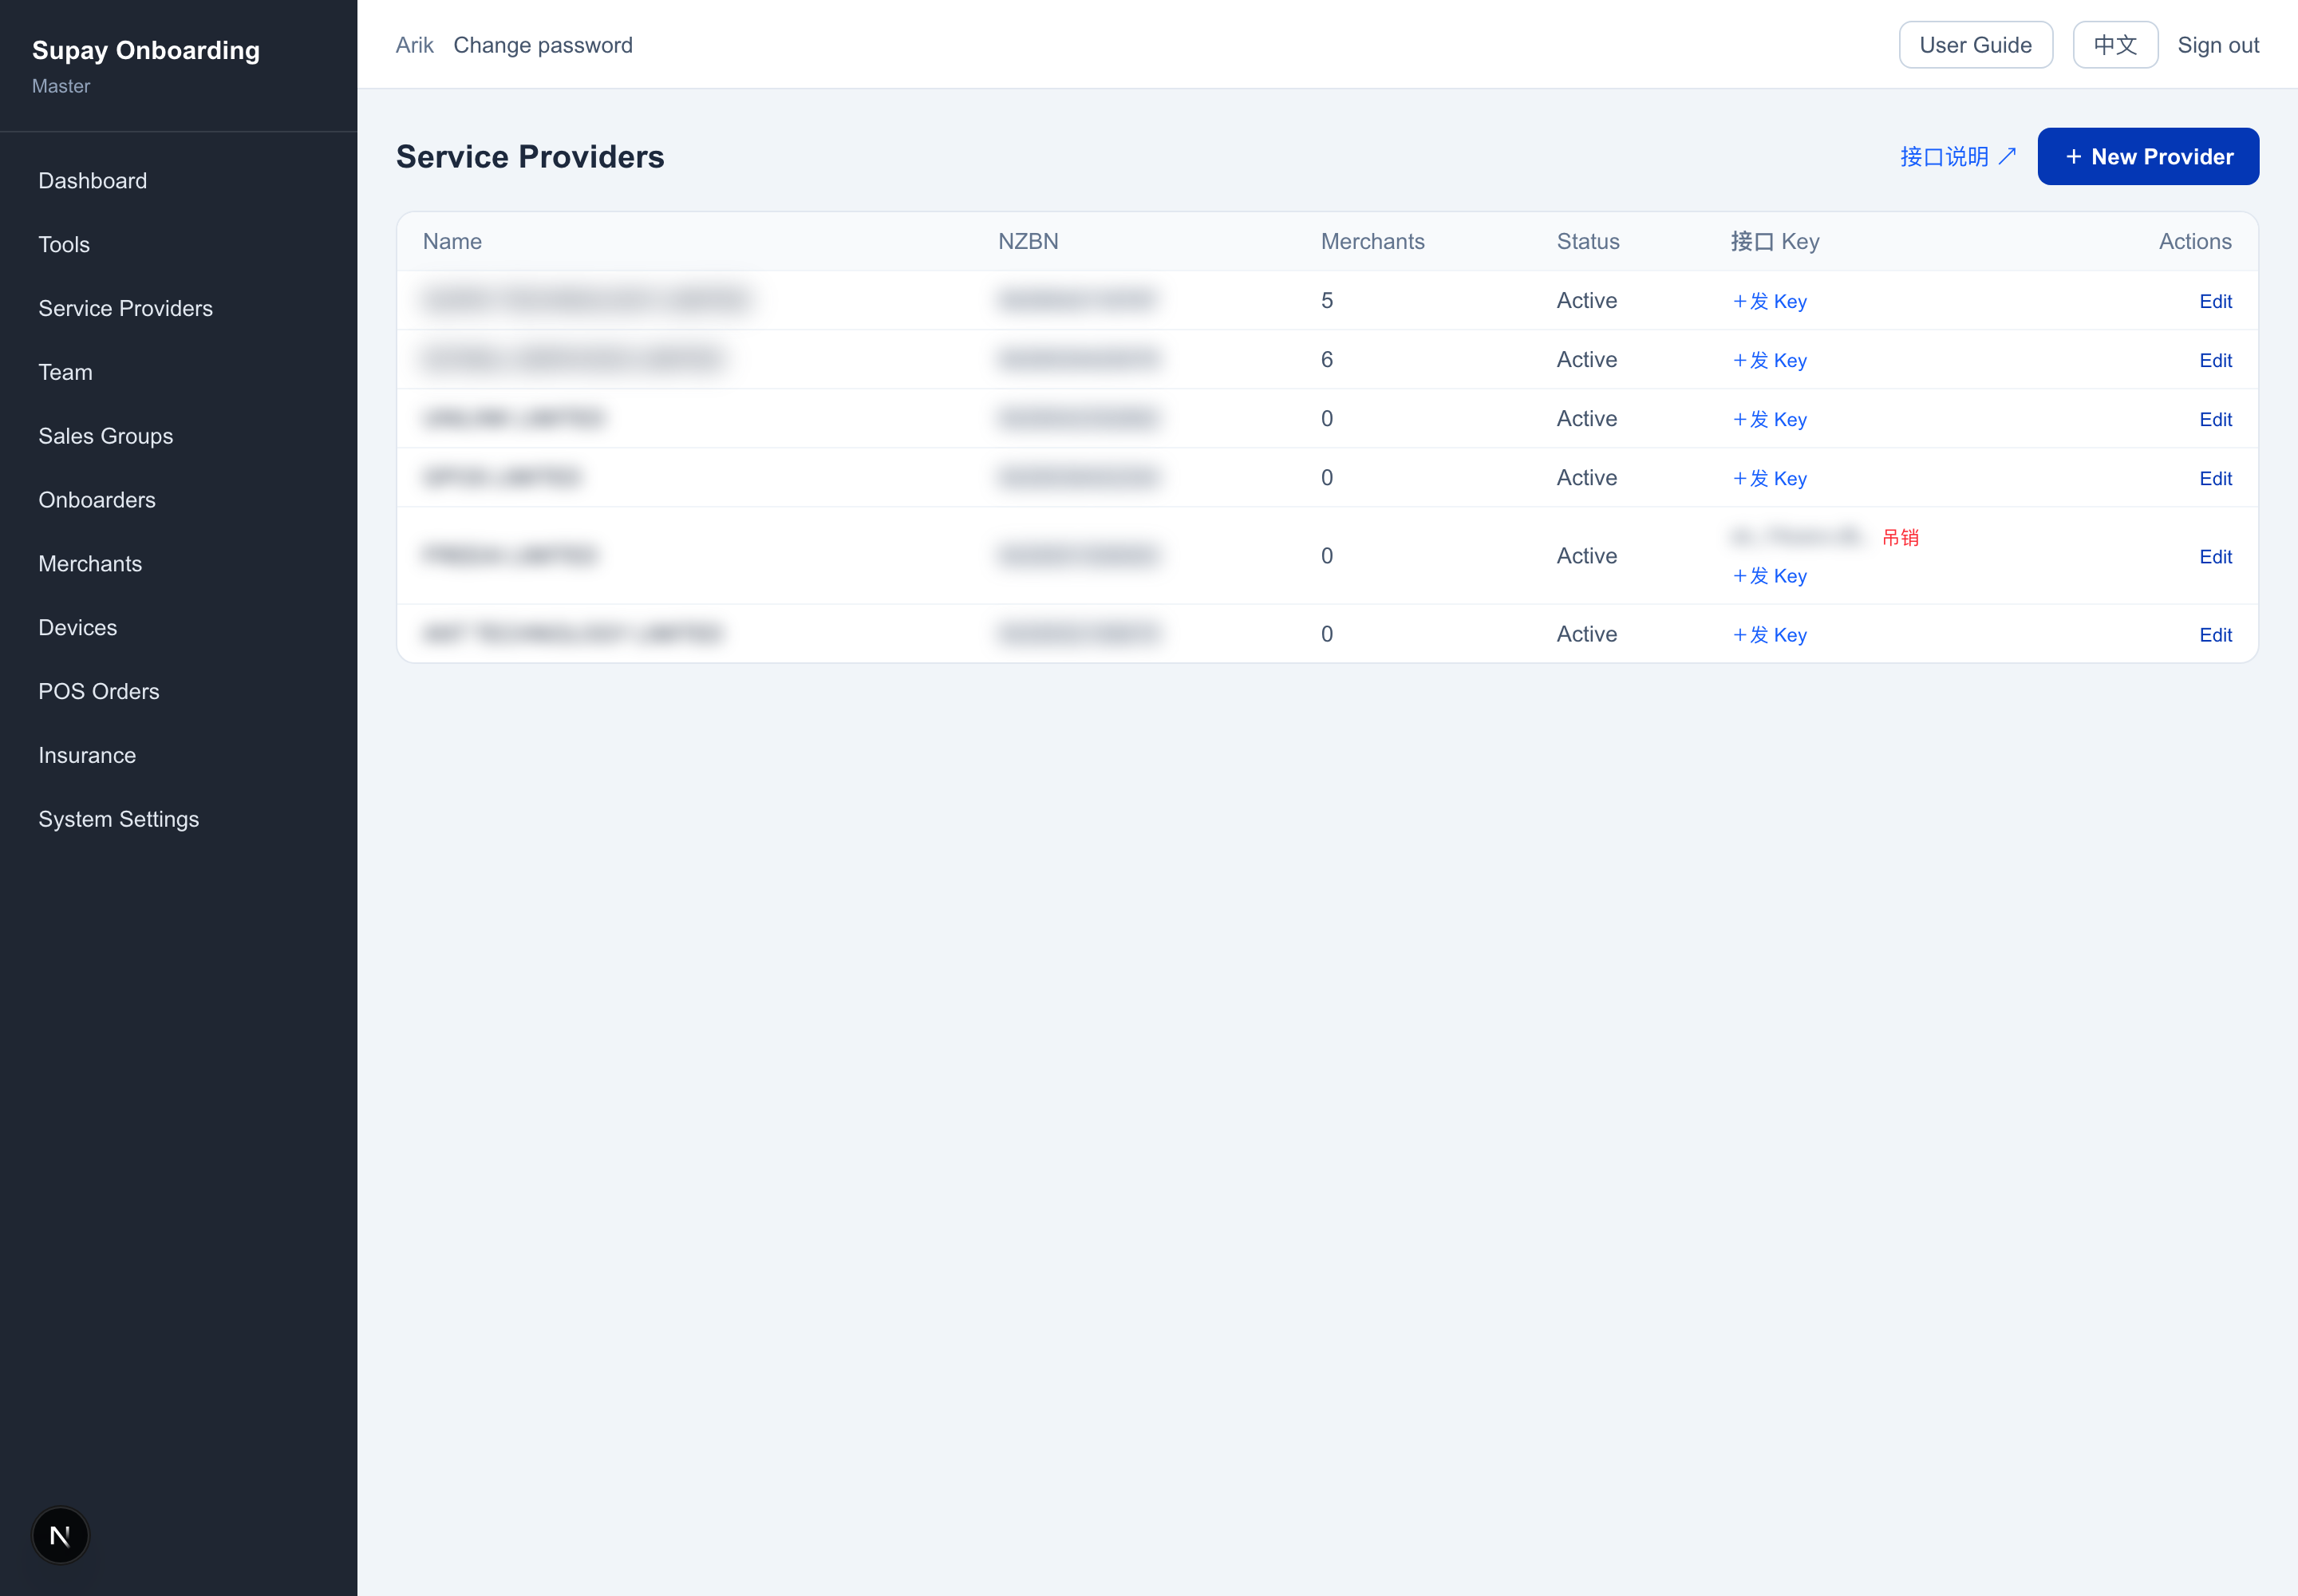
Service provider management
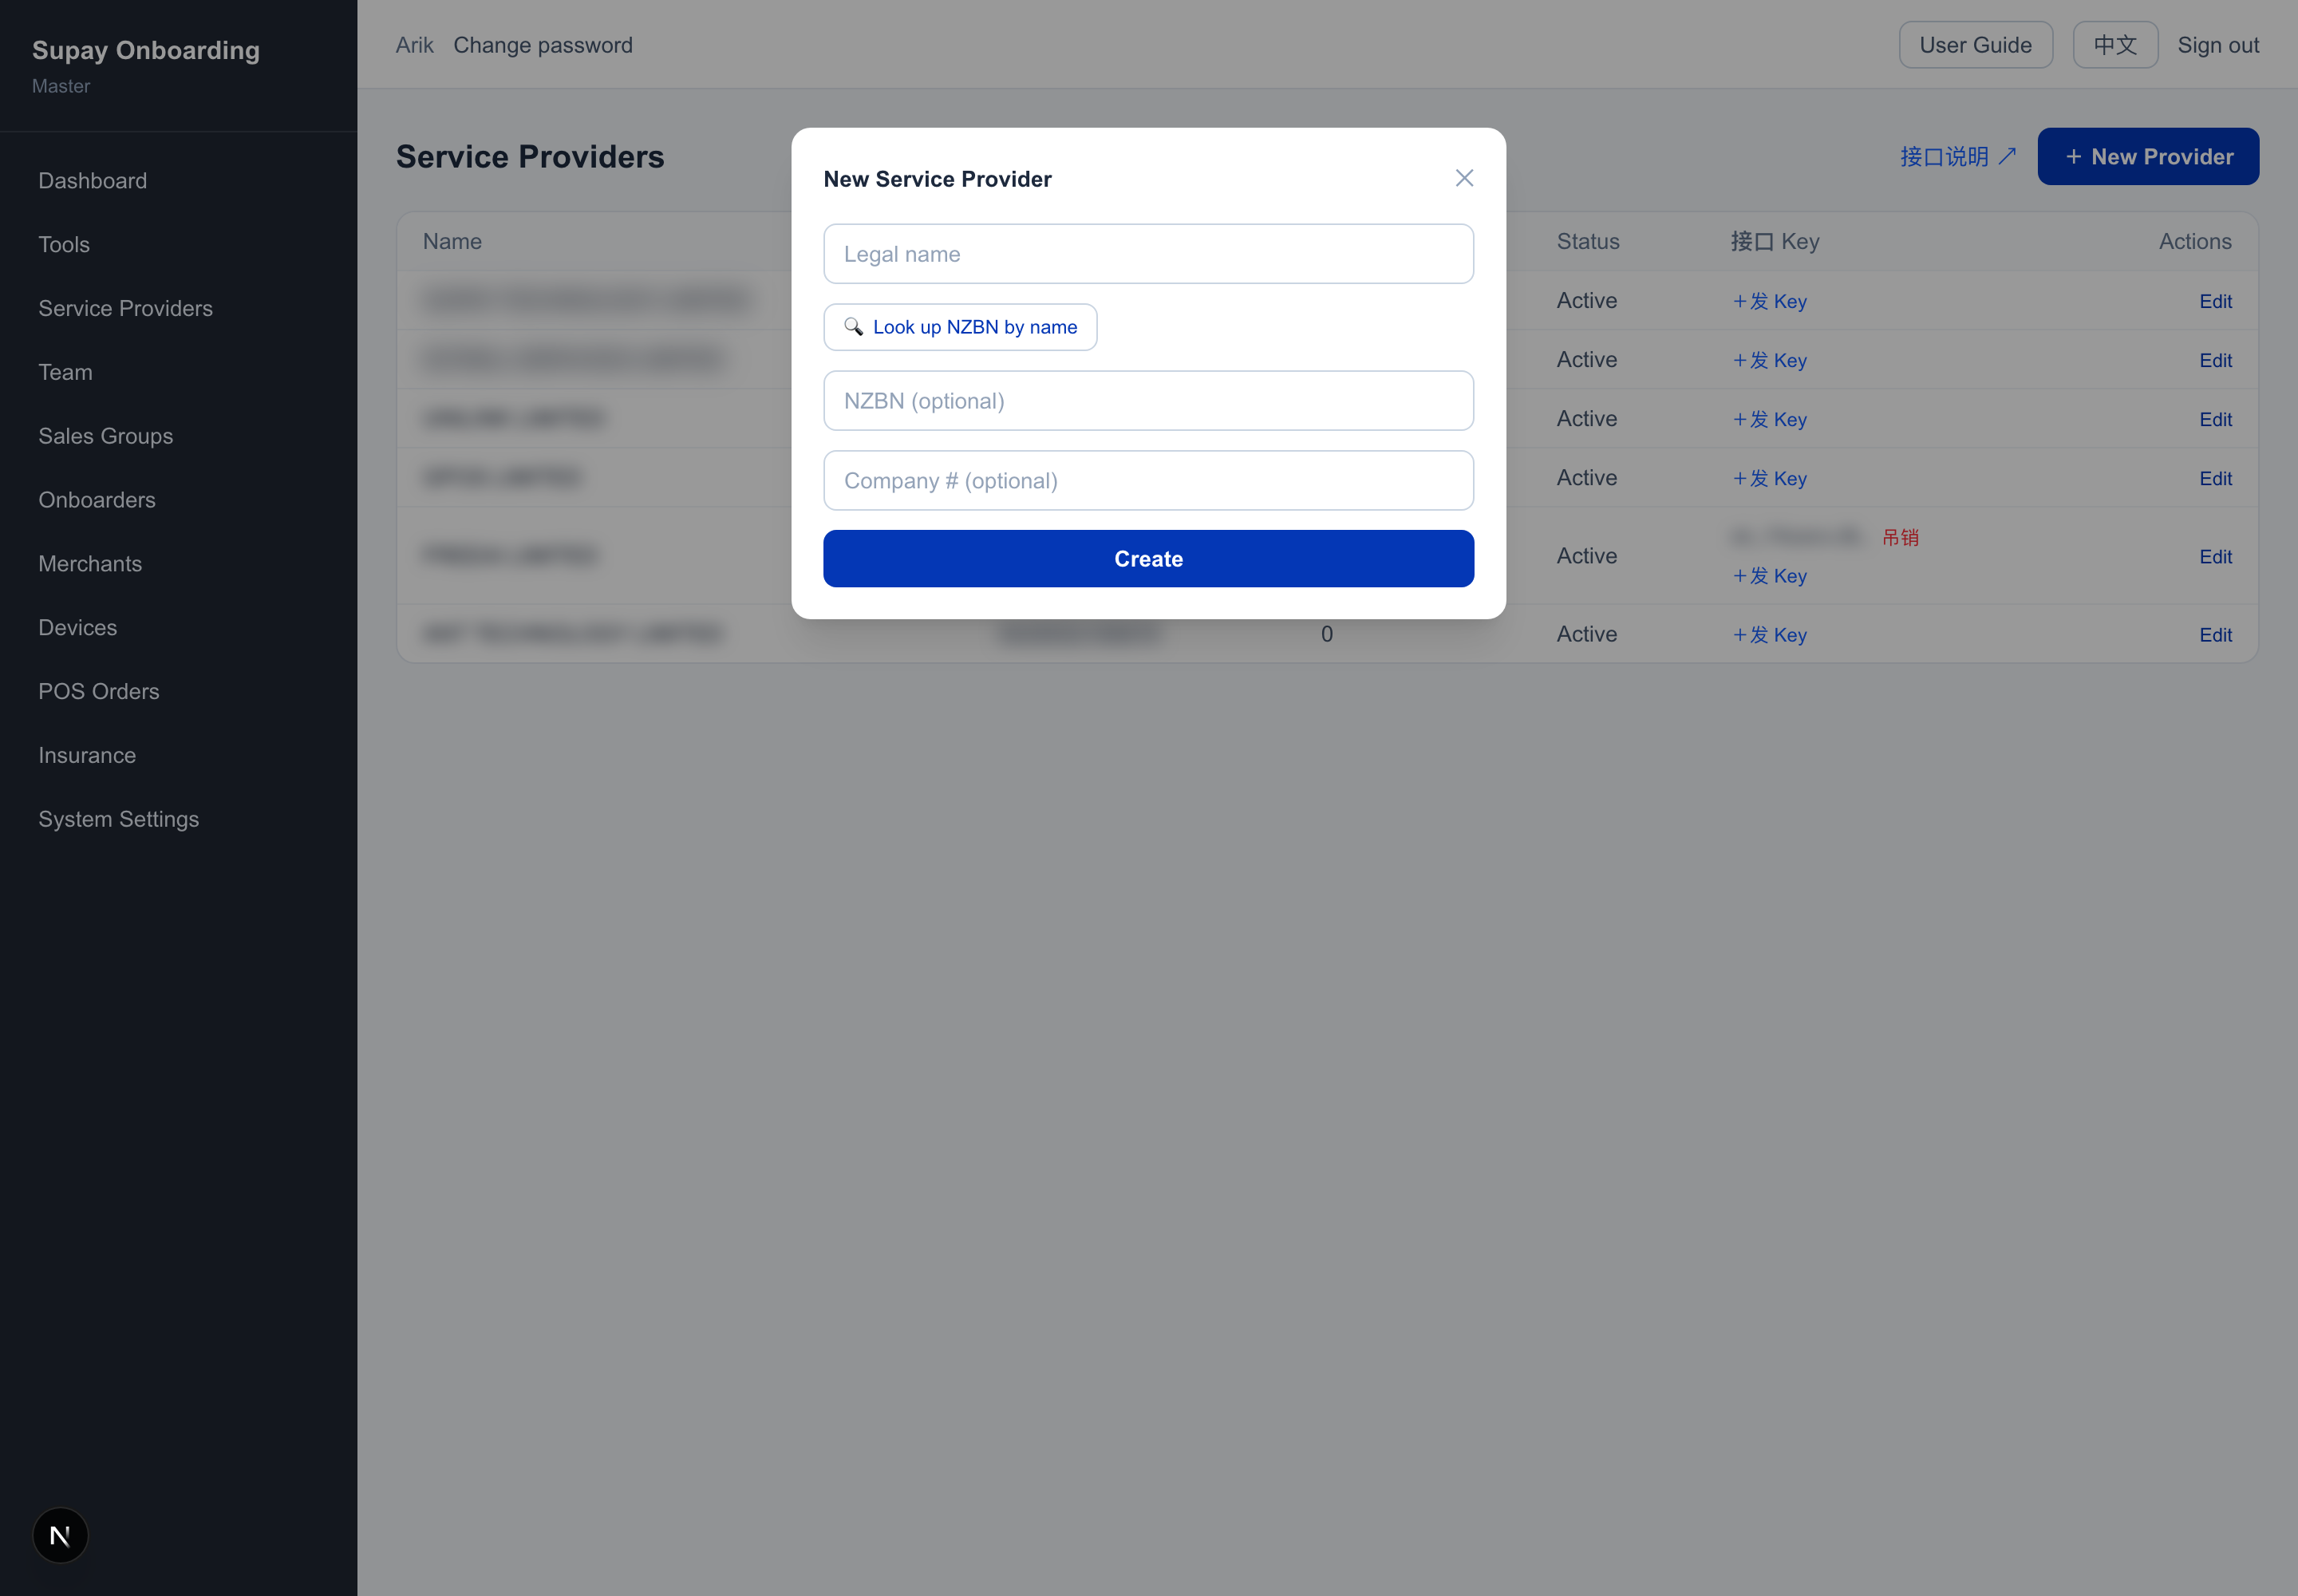
Master onlyThe Service Providers page creates / edits the company entities that onboard merchants on the platform (not login accounts). Click + New Provider → enter the legal name → (optionally Look up NZBN by name) → Create. The list shows each provider’s merchant count and status; Edit updates details.
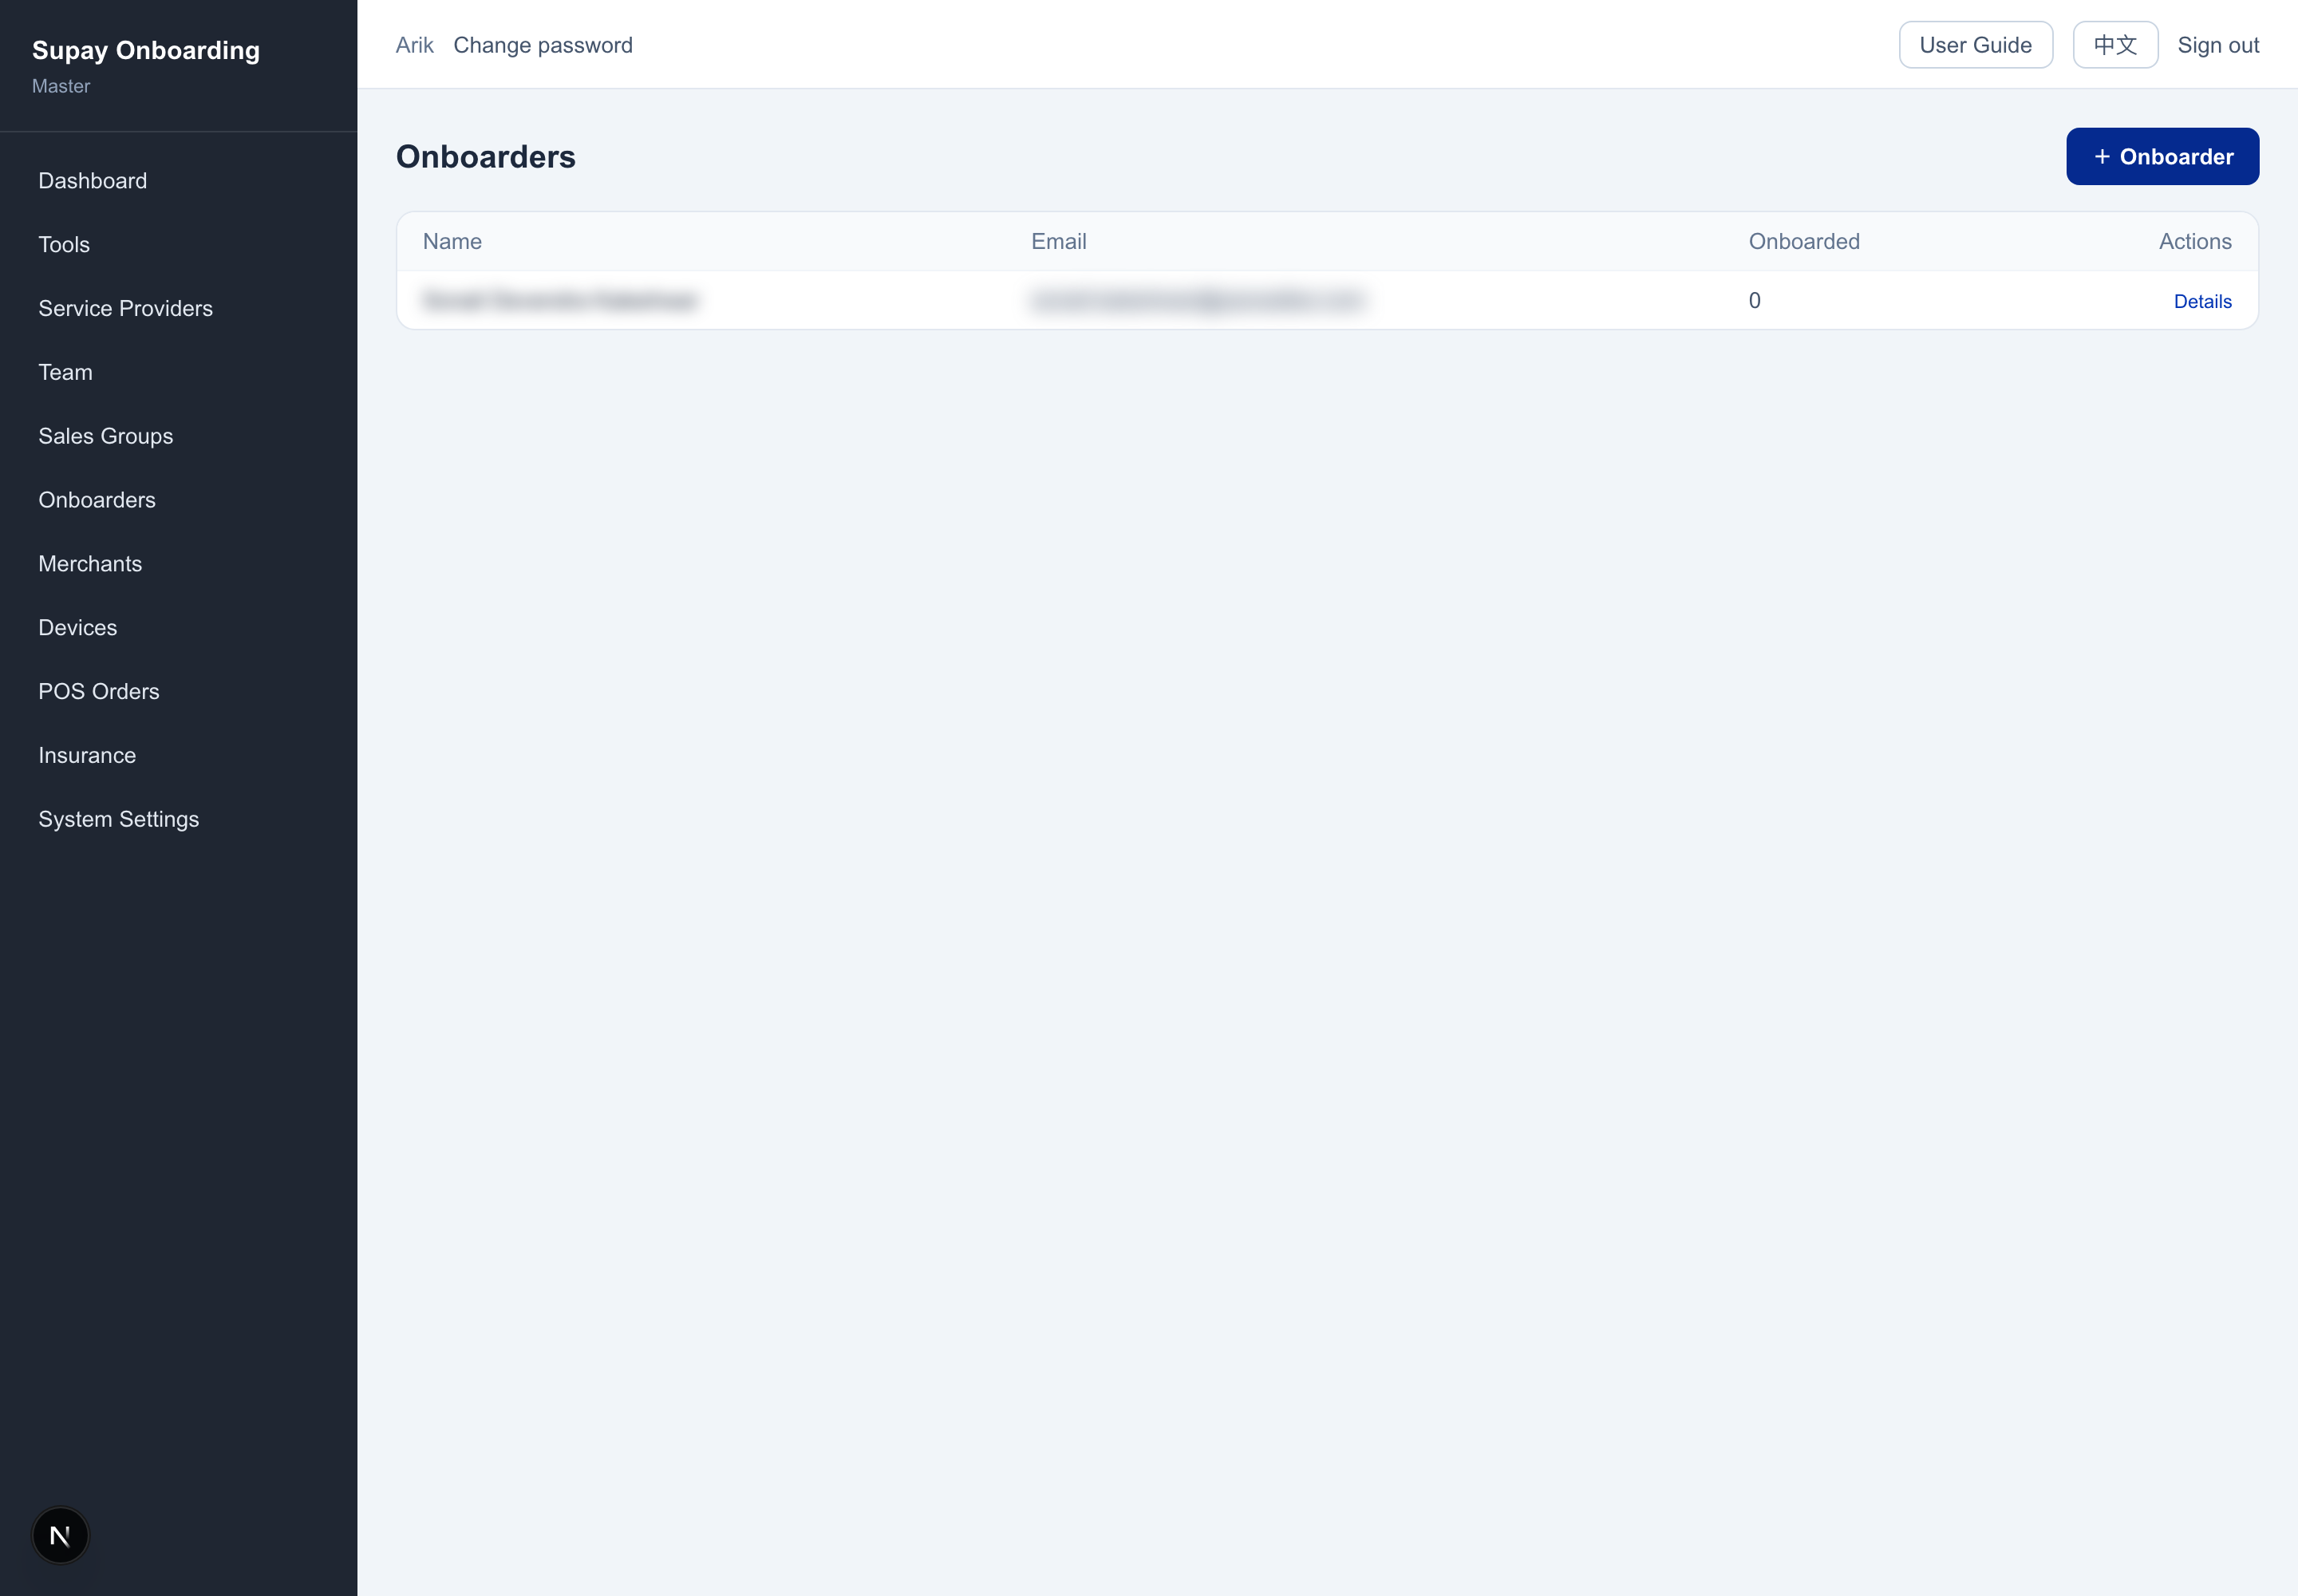
Onboarders overview
Master onlyThe Onboarders page lists each onboarder’s onboarded count; click Details to see their onboarding history (date / merchant, with a date filter). (The sample environment below has no onboarders yet.)
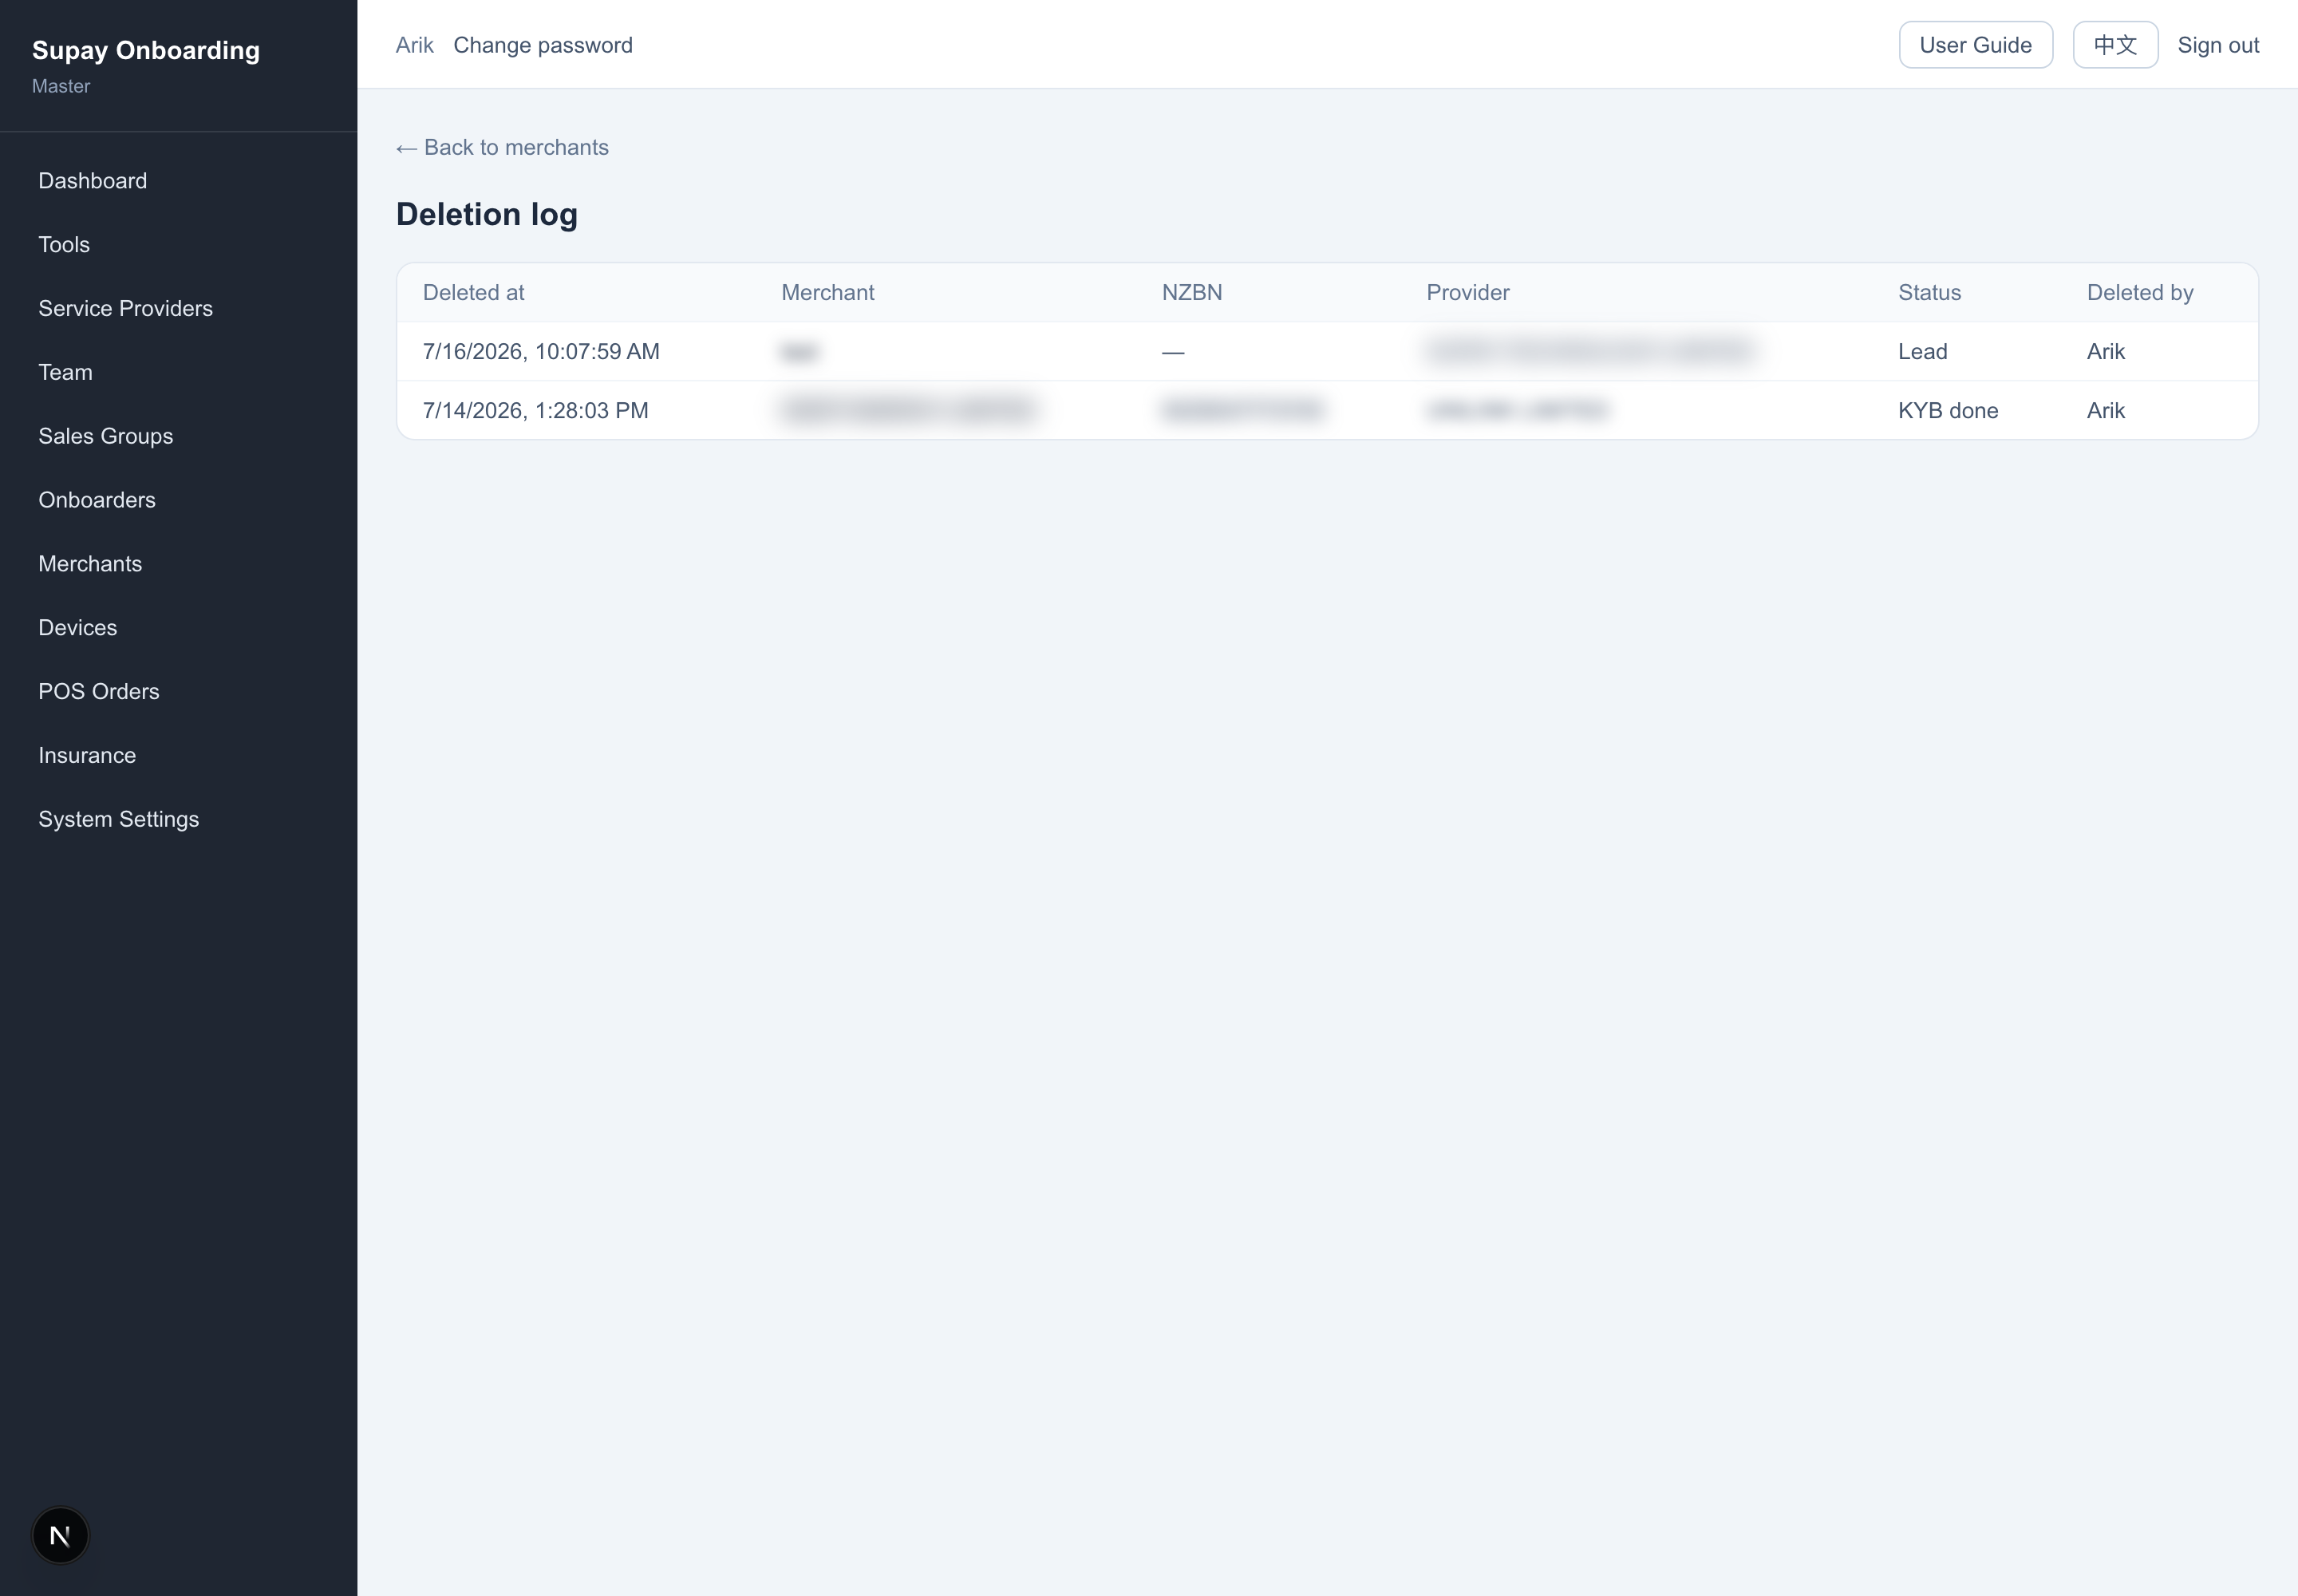
Deletion log
Master onlyReached from the Deletion log button on the Merchants page — audits who deleted which merchant and when (including the status at deletion, provider, NZBN). Only unsigned and unsettled merchants can be deleted; signed / settled ones cannot.
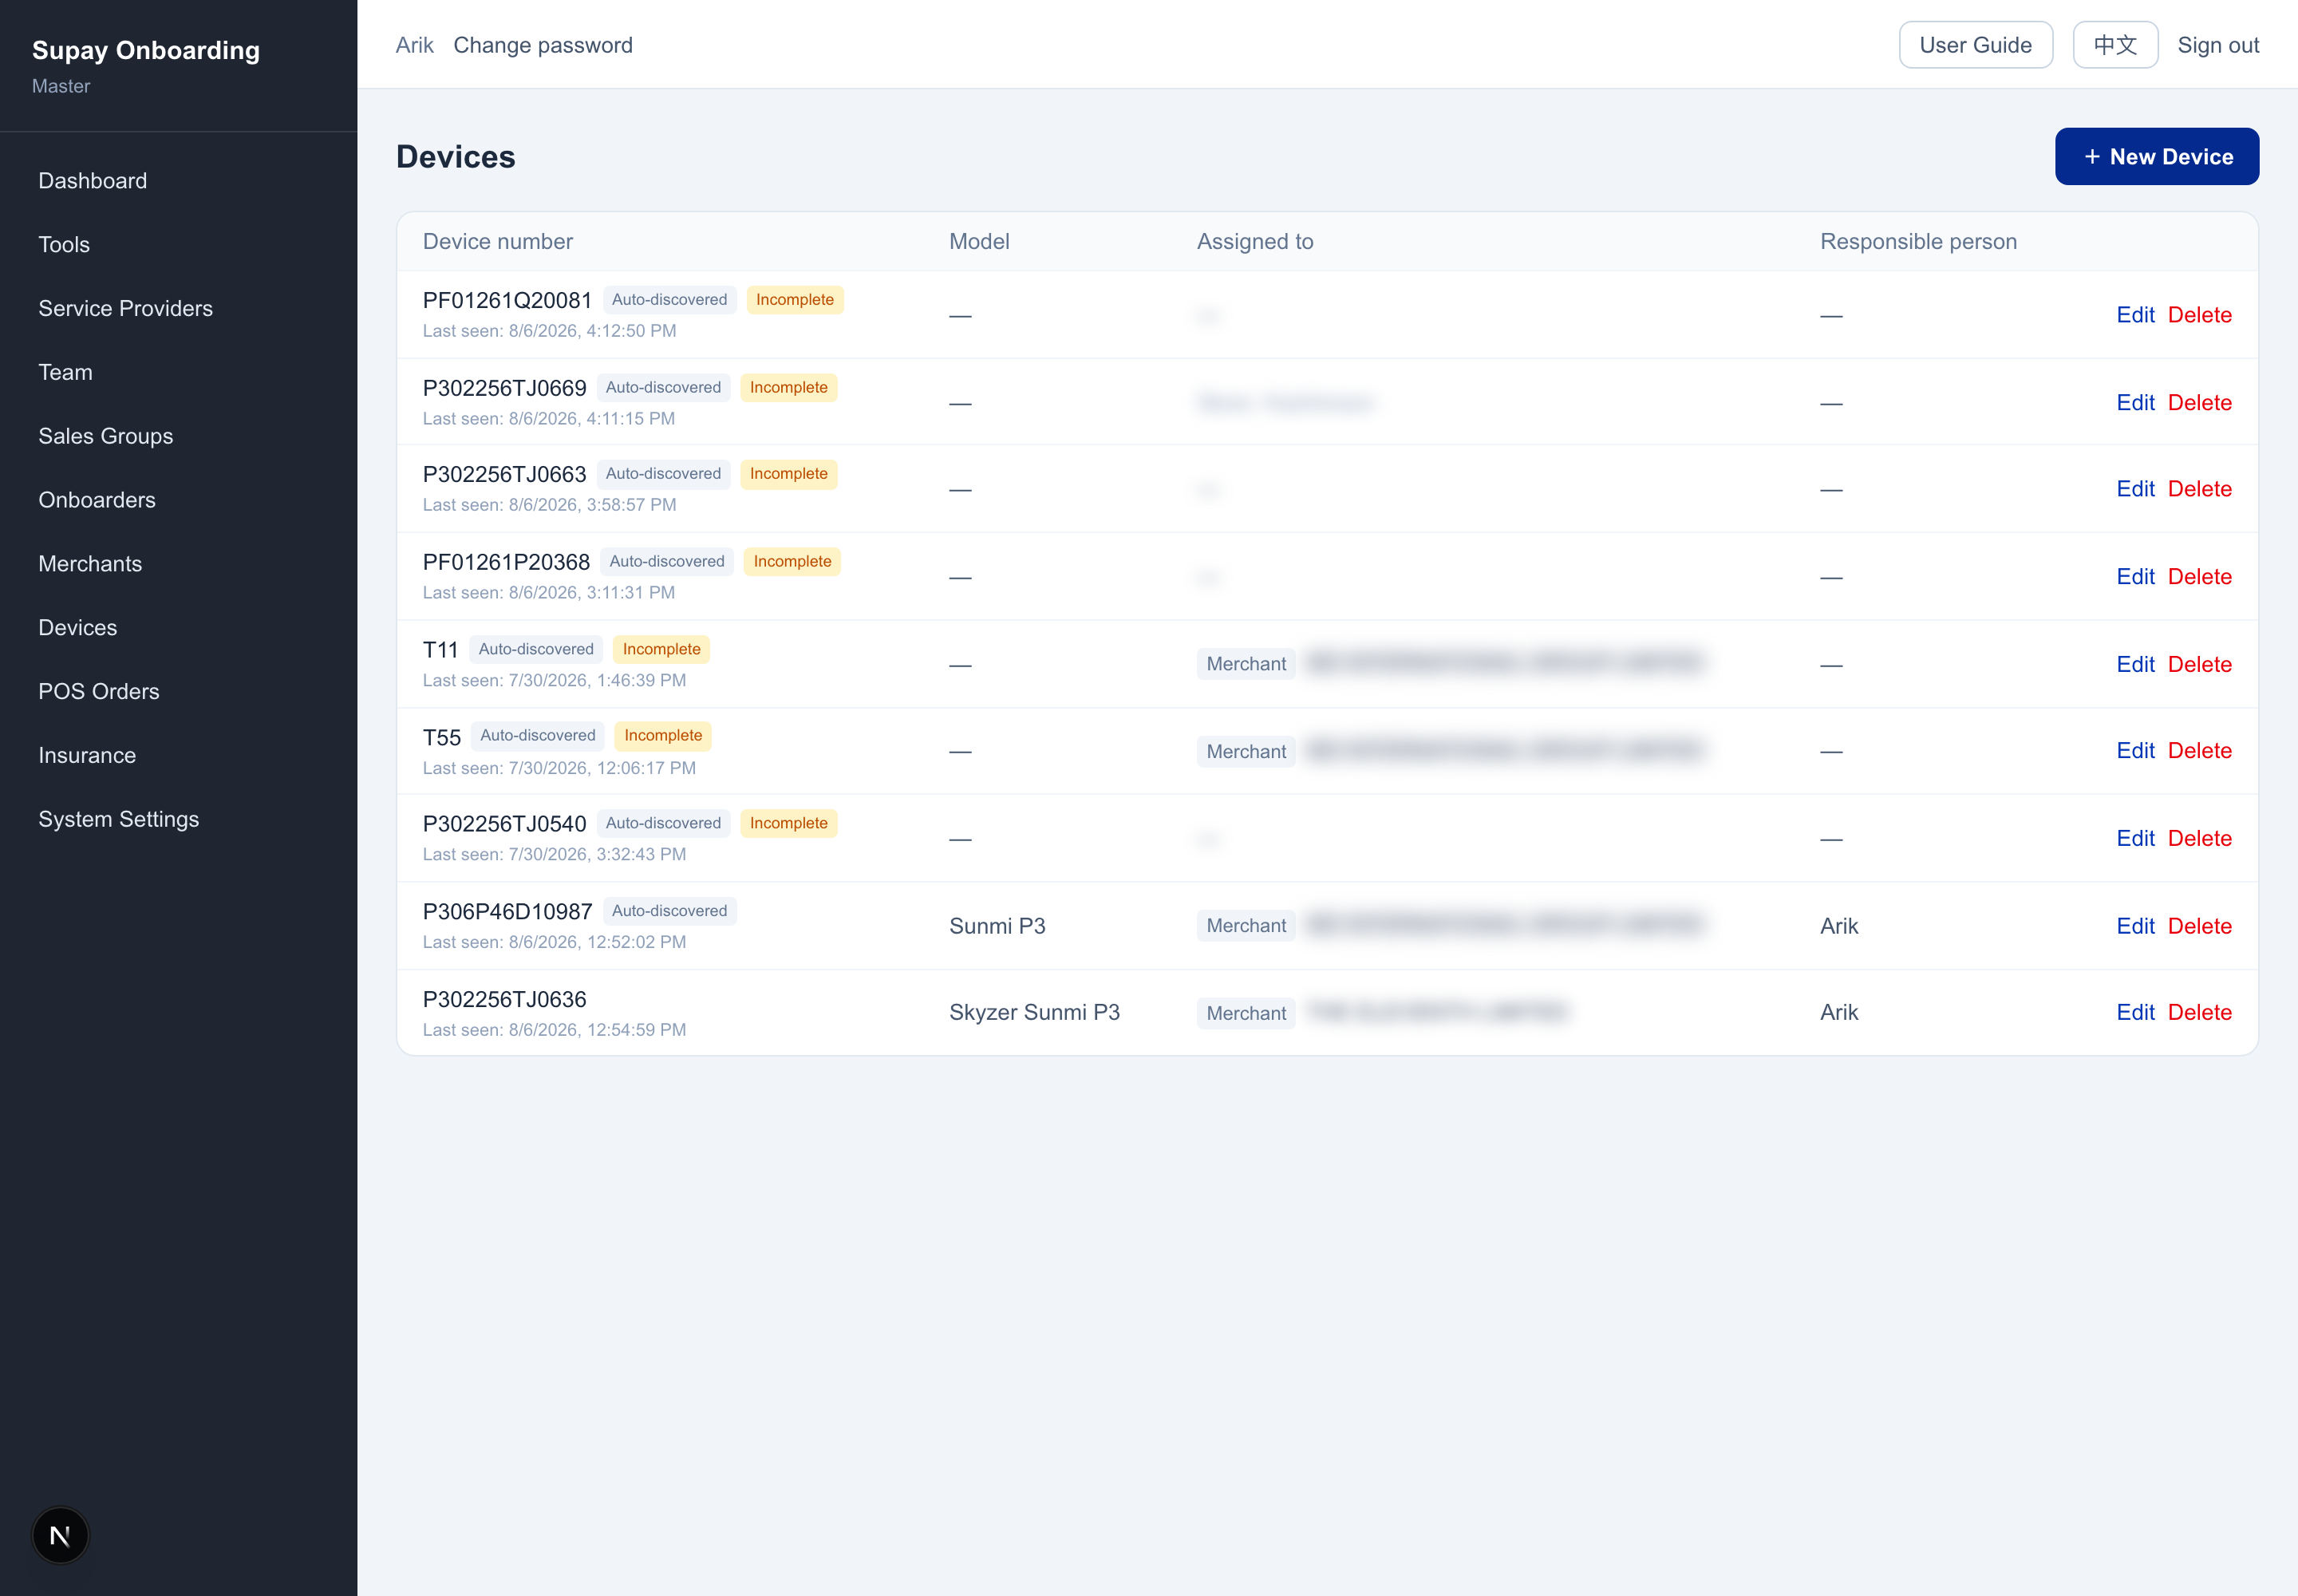
Device register
All roles (scoped)The Devices page registers terminals: device number / model / responsible person / destination (assigned to a provider or a merchant). Terminals reporting in are auto-discovered and registered; if the MID they report is already on a merchant, the destination is auto-set to that merchant (only when empty — it never overwrites a manual assignment). The list shows last-seen time / store, whether it was auto-discovered, and whether details are complete.
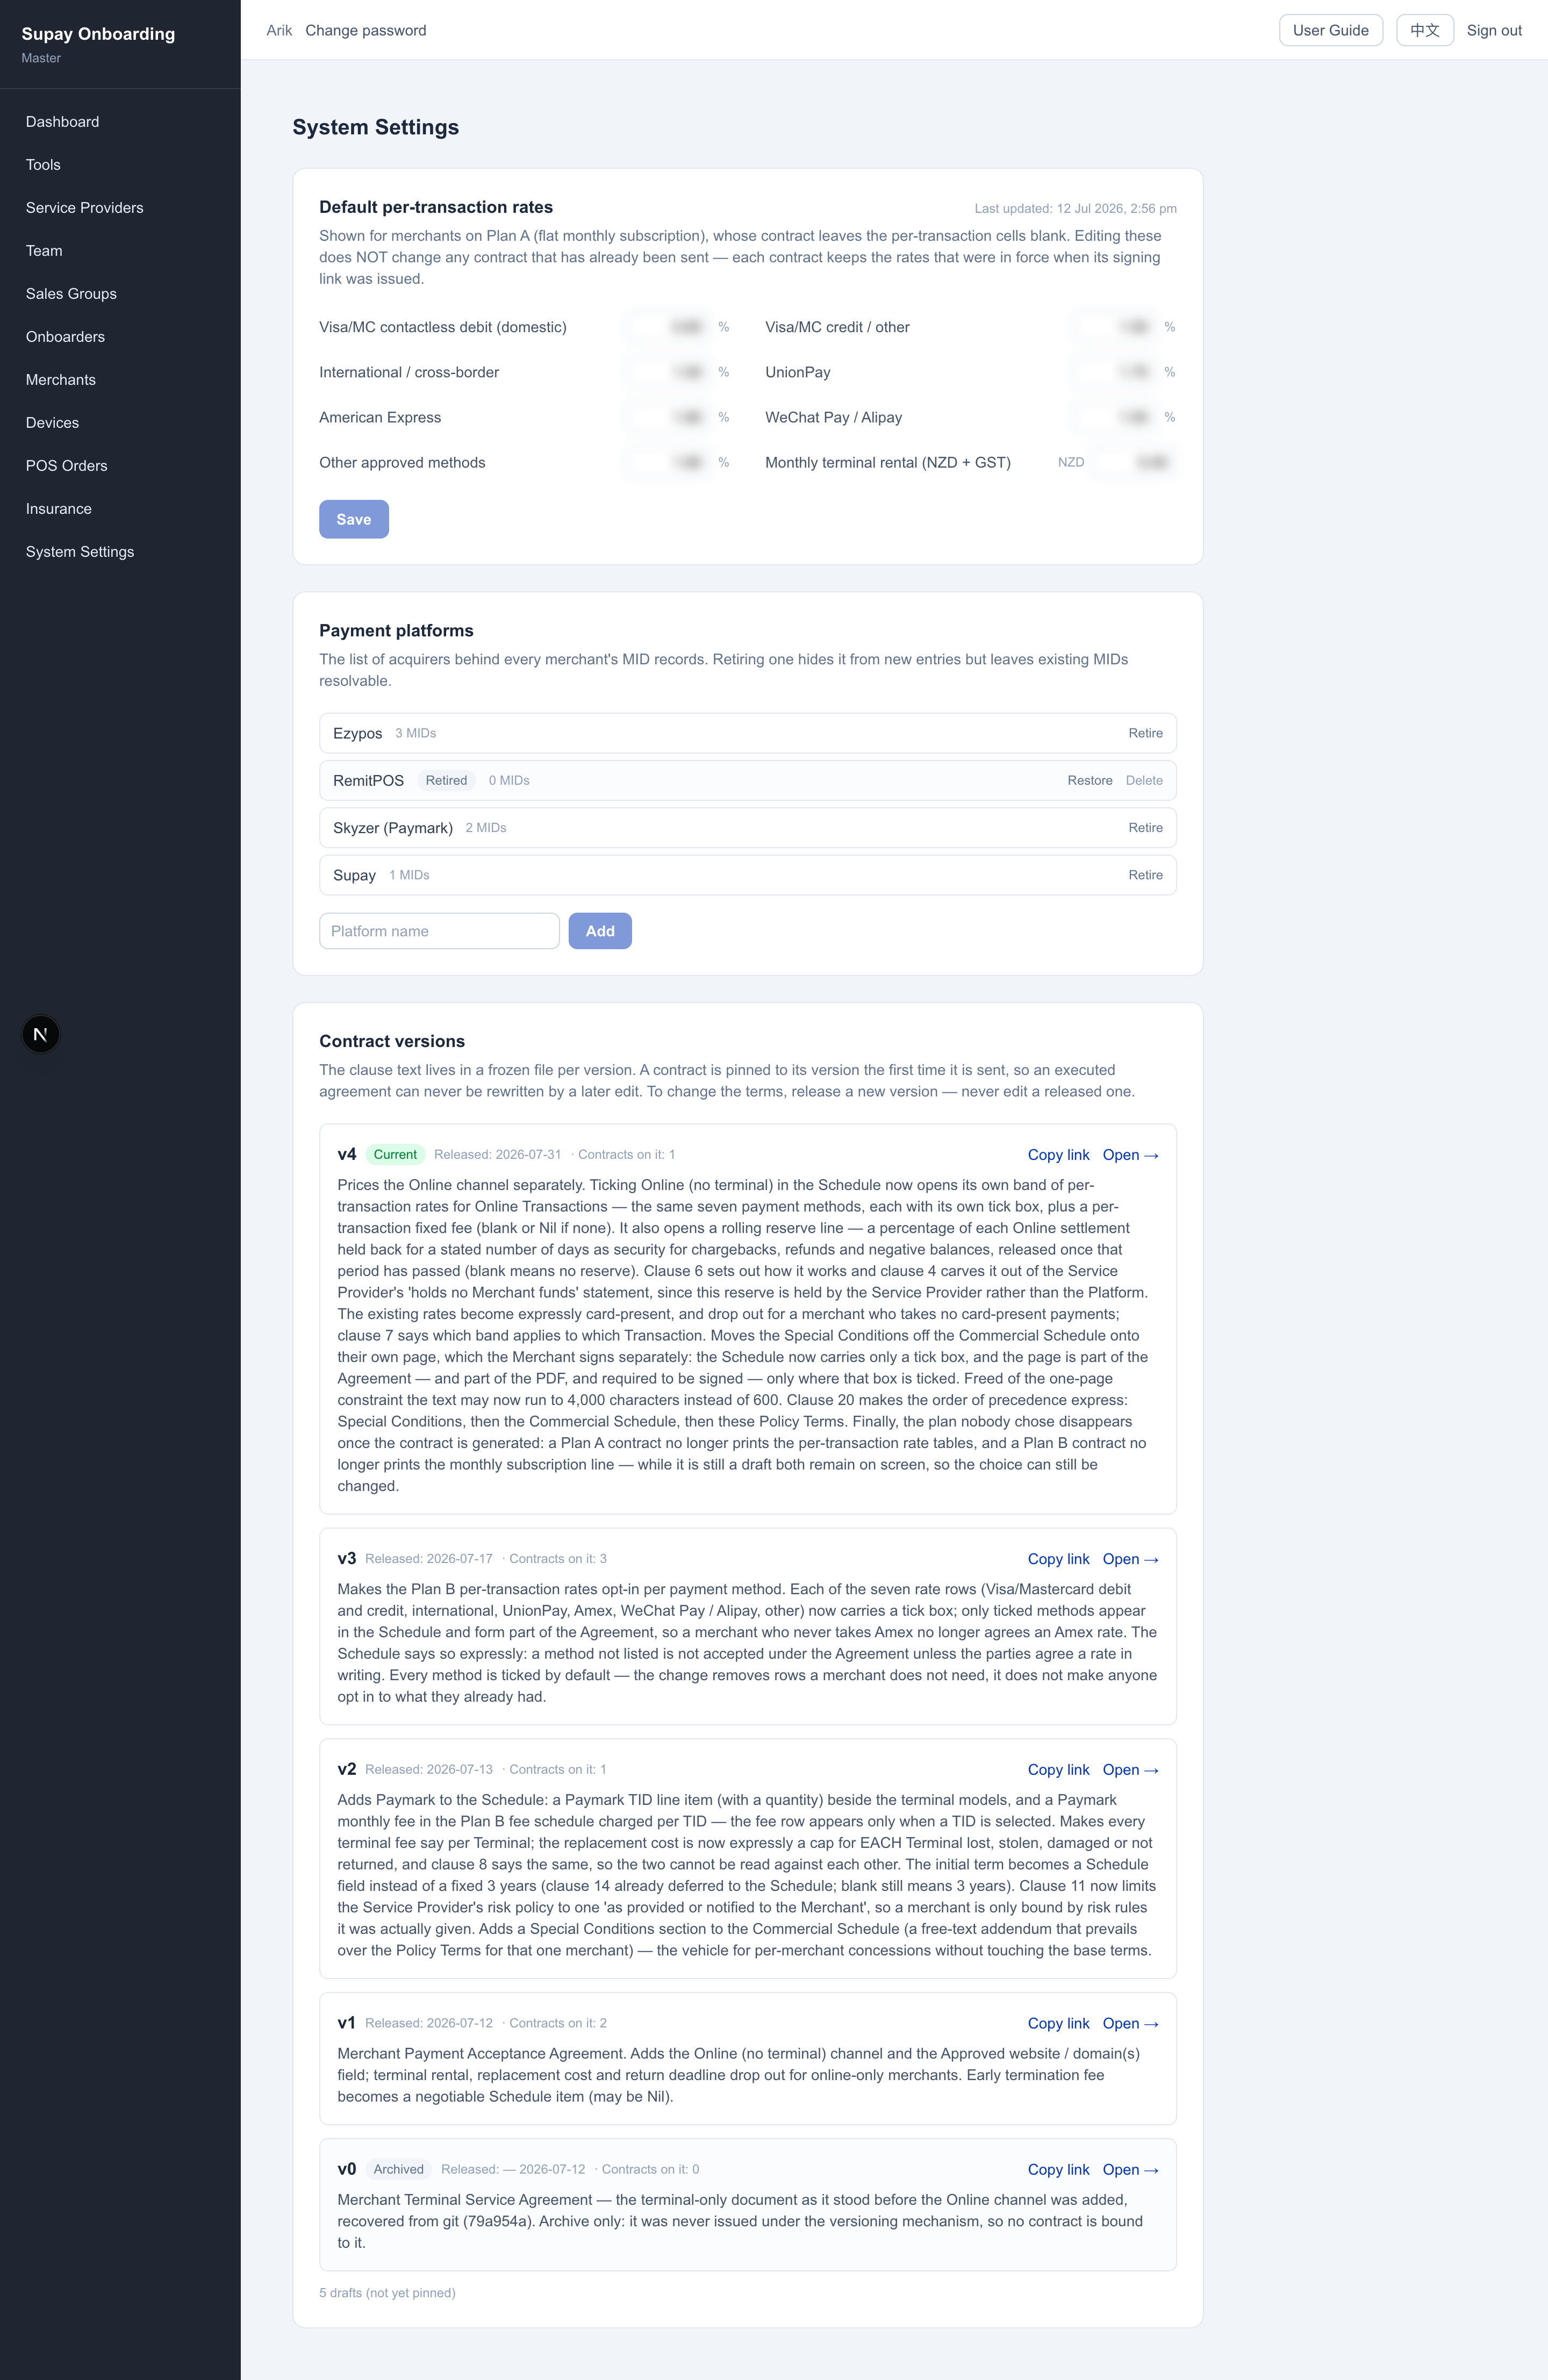
System settings
Master only · internalThe System Settings page has three parts: default per-transaction rates (a fallback for Plan A merchants whose contract leaves the per-transaction cells blank; editing these never changes an already-sent contract), contract versions (clause text is frozen per version; a contract is pinned to its version when sent, so changing terms means releasing a new version), and payment platforms (the acquirer list behind every MID; retiring one only hides it from new entries).
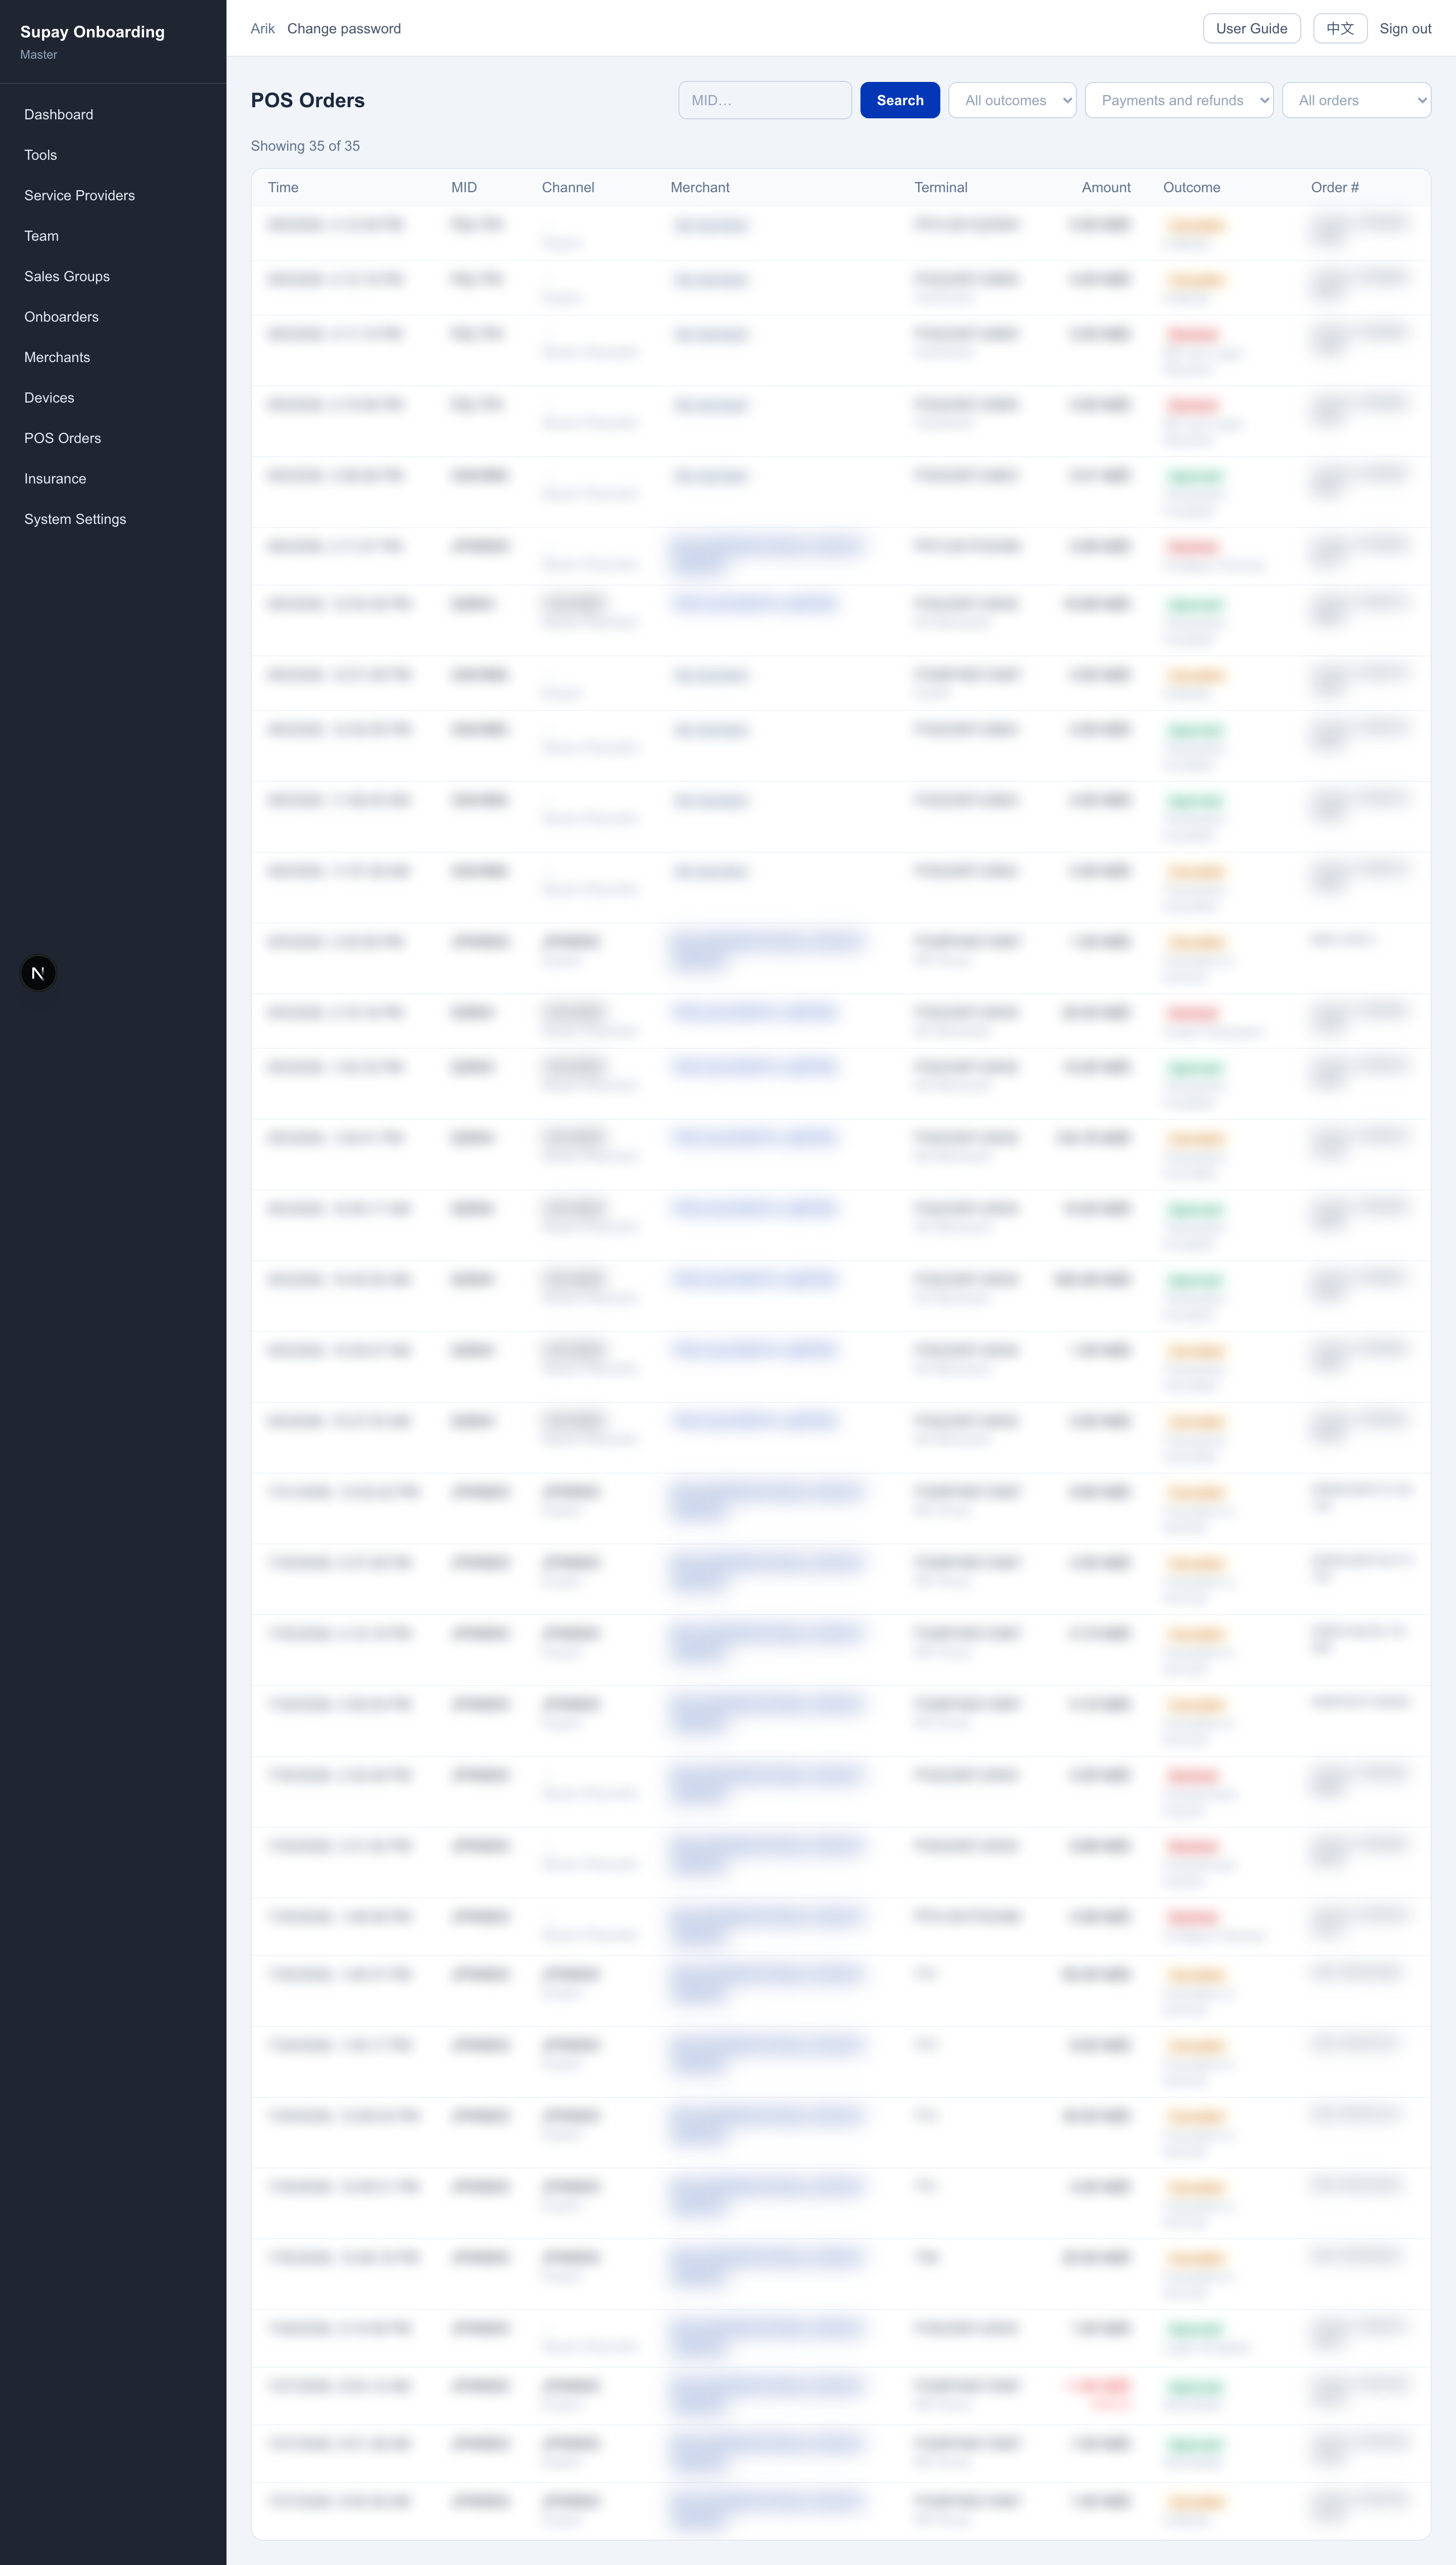
POS order traffic
Master only · internalThe POS Orders page aggregates platform-wide payment / refund traffic, matched to merchants by MID. Filter by MID search, by outcome (approved / declined / cancelled / error), or show unmatched orders only. Merchant takings are visible to Master only.
04 · Insurance
Life cover bundled with the device — how to enrol
Supay works with an insurance partner (SP Insurance / AIA) that bundles 2 years of free life cover with the device rollout. The merchant and their family fill in and sign one public link themselves; staff only mint the link and review afterwards — never fill it in for them.
🔗① Create an engagement (staff)
On the merchant detail page, bottom-right “Life insurance” block, click Create engagement to mint a link (one link = one household). A merchant can have several (multiple families / re-sends); each click mints a fresh one. The link is valid 7 days — copy and send it to the merchant. Sales / Leader / Manager / Master / Onboarder can create; Viewer cannot.
📝② Merchant & family fill it in (public link)
They open the link and step through: Scope of engagement (read) → Applicant 1 (required) and Applicant 2 (optional) each fill personal info + 15 AIA health questions + 3 consents + a hand-drawn signature → household Direct Debit payment (once) → AIA Declaration, 38 clauses (read-only; signing accepts it) → Submit.
📋③ Review results (staff)
The left-nav “Insurance” page lists only signed engagements (merchant / insured / status / created date) — visible to Master and the partner account only. Links not yet signed aren’t here; find them in the “Life insurance” block on the merchant detail page (which lists all of that merchant’s engagements and their status).
🤝Insurance partner account
The insurer has a read-only account (Insurance Partner) that sees only the “Insurance” page: signed engagements, applicant details, and a PDF download. It cannot see merchants / team / devices, and cannot change anything.
05 · Merchant status lifecycle
From creation to onboarded, a merchant passes five statuses
The dot color shows which role advances it. It only moves forward — Signed in particular is never downgraded.
⚠️ Once the signing link is sent (Sent), the contract content is locked — rates, terms and everything else can no longer be changed. Finish edits while still in Draft; if you send by mistake, void it and start over.
Signing has two parties: generate separate merchant and guarantor links, each unlocking only its own fields and signature; an online submission merges only that party's content and does not change status. Once both have signed, the owner clicks Lock in the Agreement panel — the contract becomes Signed and the merchant status is advanced to Signed too, so the Team's signed count and the commission settlement page update immediately. (Contracts signed offline can be uploaded as a scan, or marked Signed by Master on the detail page.)
When you generate the first signing link, if "Approved / activated by" and "Activation date" are still blank, they're auto-filled with the person generating the link and today's date (still editable afterwards).
06 · Permission cheat sheet
At a glance: who can touch what
✅ allowed · ❌ not · text = limited scope. Scroll the table sideways to see every column.
| Feature | Sales | Leader | Manager | Master | Onboarder | Viewer |
|---|---|---|---|---|---|---|
| General | ||||||
| Login / change own password / switch language | ✓ | ✓ | ✓ | ✓ | ✓ | ✓ |
| View merchants | own only | sales group | provider | all | all | all · masked |
| Tools / Devices | ✓ | ✓ | ✓ | ✓ | Devices only | Devices only |
| Merchant operations | ||||||
| Create merchant / batch intake | ✓ | ✓ | ✓ | ✓ | ✕ | ✕ |
| KYB / bank / MID / documents / contacts | ✓ | ✓ | ✓ | ✓ | ✓ | ✕ |
| Edit contract / send signing link | ✓ | ✓ | ✓ | ✓ | maintain | ✕ |
| Change merchant status (dropdown) | ✕ | ✕ | ✕ | ✓ | onboarding only | ✕ |
| Mark Onboarding done | ✕ | ✕ | ✕ | ✓ | ✓ | ✕ |
| Administration | ||||||
| Team: create Sales / reset password | ✕ | own group | own provider | all | ✕ | ✕ |
| Create Leader | ✕ | ✕ | own provider | ✓ | ✕ | ✕ |
| Create Manager / Master / Onboarder / Viewer | ✕ | ✕ | ✕ | ✓ | ✕ | ✕ |
| Supay-internal | ||||||
| Service Providers / API keys | ✕ | ✕ | ✕ | ✓ | ✕ | ✕ |
| Commission settlement / POS Orders / System Settings | ✕ | ✕ | ✕ | ✓ | ✕ | ✕ |
| Delete merchant / deletion log | ✕ | ✕ | ✕ | ✓ | ✕ | ✕ |
| Insurance (the partner has a separate read-only account) | ||||||
| Create engagement link (merchant detail) | ✓ | ✓ | ✓ | ✓ | ✓ | ✕ |
| View signed engagements (/insurance) | ✕ | ✕ | ✕ | ✓ | ✕ | ✕ |